
Custom Paper Box Manufacturing Process: How We Check Color, Size, Design and Packaging
A custom paper box is not finished when the artwork is approved. The quality of the final package depends on the decisions made during design review, sampling, color checking, measurement, printing, finishing and packing.
In this factory case, the customer project moves through several practical checkpoints. This is how we help buyers reduce mistakes, confirm the design in real life and receive packaging that works after production and shipping.
What This Guide Covers
- 1. Structure and Size Validation — dieline review, outside size and internal fit are checked before the box structure is approved.
- 2. Customer Checkpoints — print placement, a physical sample and color matching are reviewed together with the buyer.
- 3. Production and Finishing — lamination, foil, embossing, die cutting and assembly are checked after printing.
- 4. Packing and Shipping — flat-packed, nested or assembled cartons are confirmed before export.
- 5. Eight Checkpoints at a Glance — a quick-reference table of every check performed during the process.
- 6. Buyer Checklist — the six items a customer should confirm before mass production.
1. Three Checks Before We Approve the Box Structure
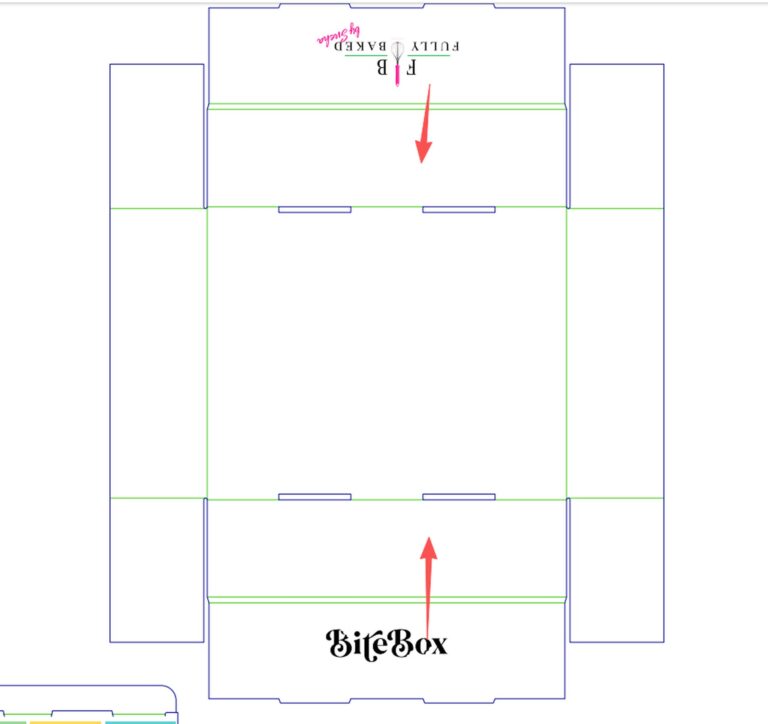
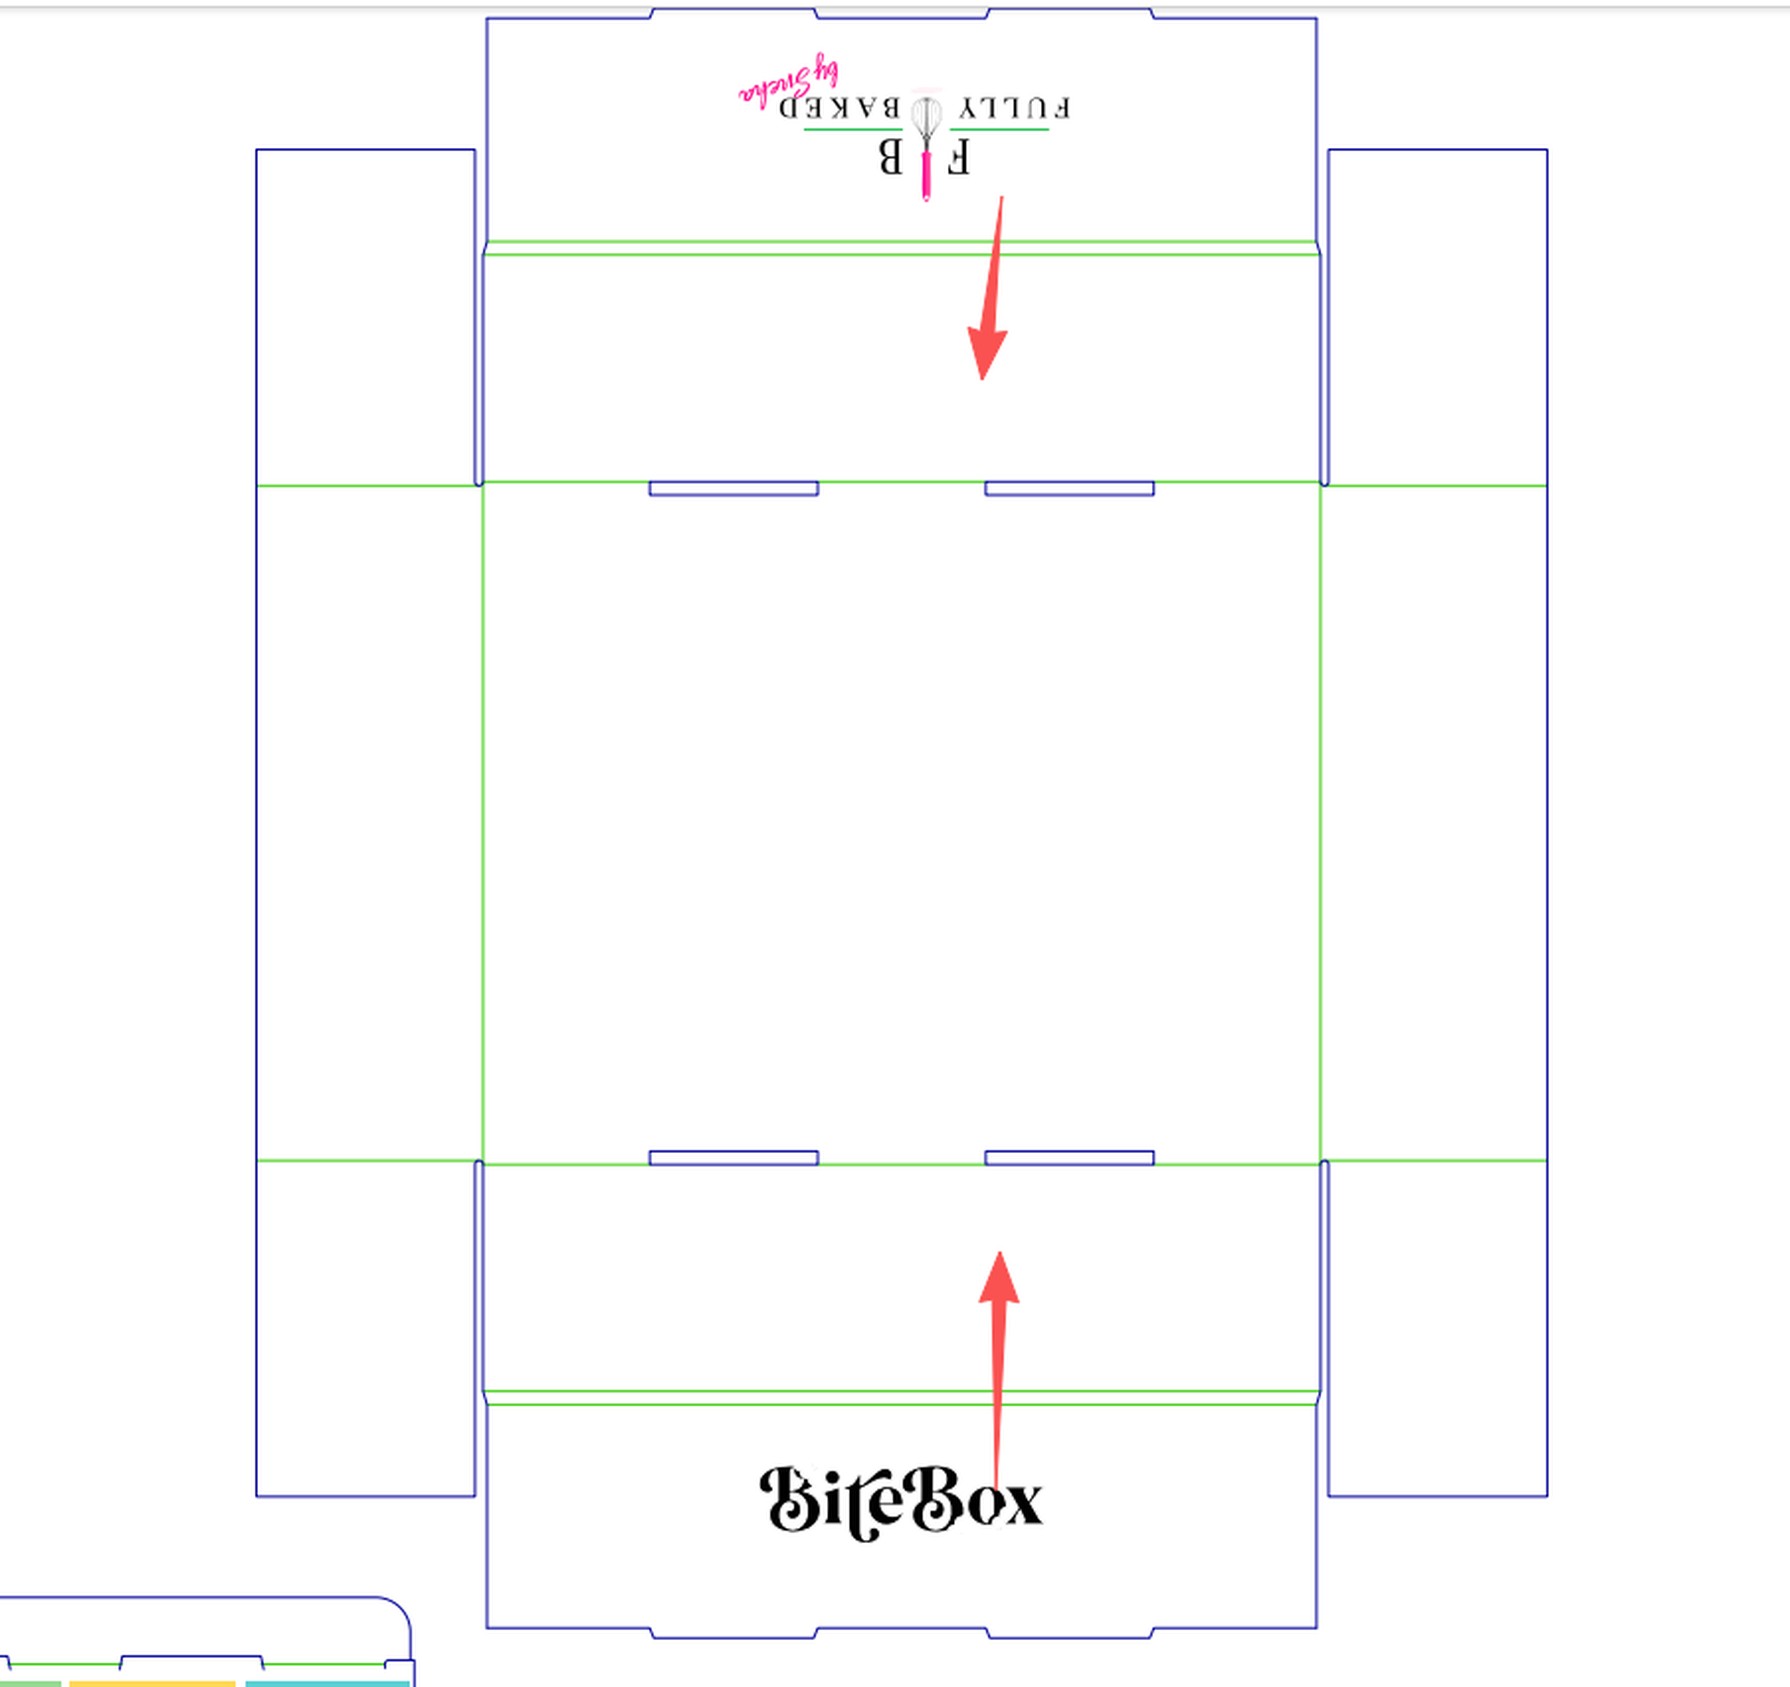
The dieline and the physical measurements must agree before production. We review the fold direction and artwork orientation first, then measure the real package and its internal space. Presenting these three checks together gives the customer a clearer record of what has been approved.
Structure and Fold Direction
We confirm panels, folds, glue flaps, locking tabs, opening direction and artwork orientation before printing.
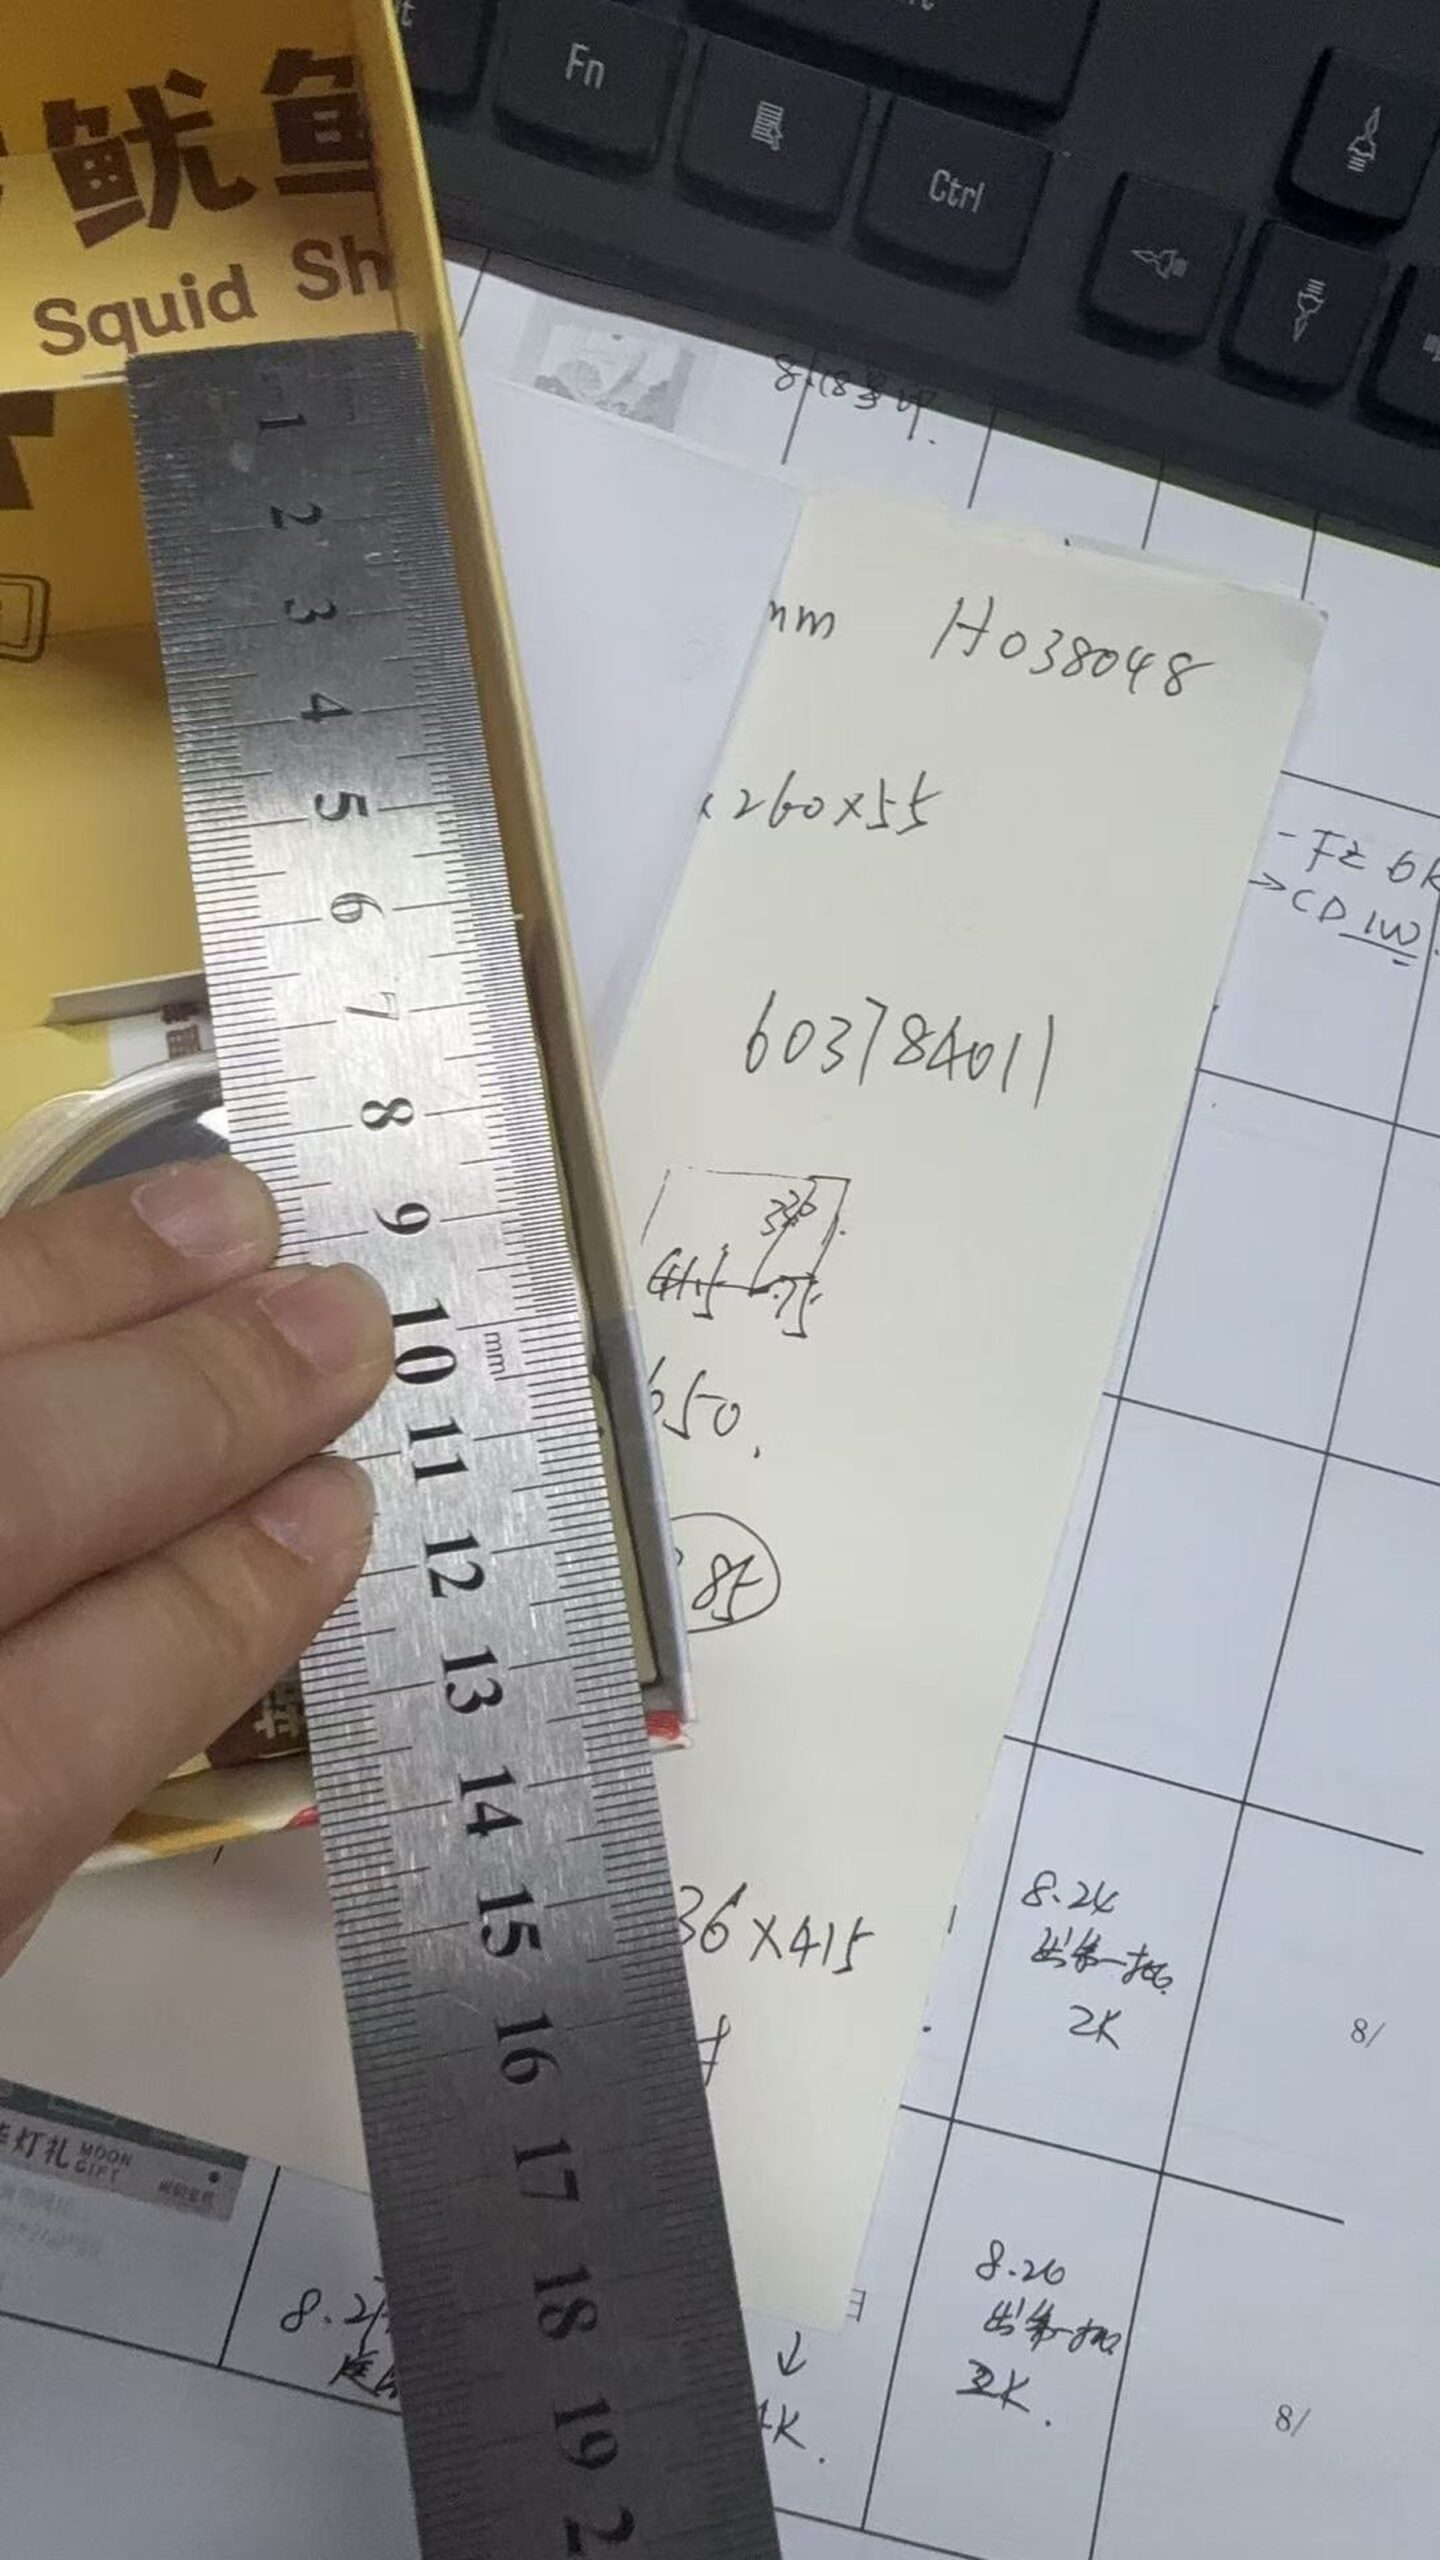
Measure the Real Package
We compare the approved dimensions with the physical box and product so the specification works in the real project.
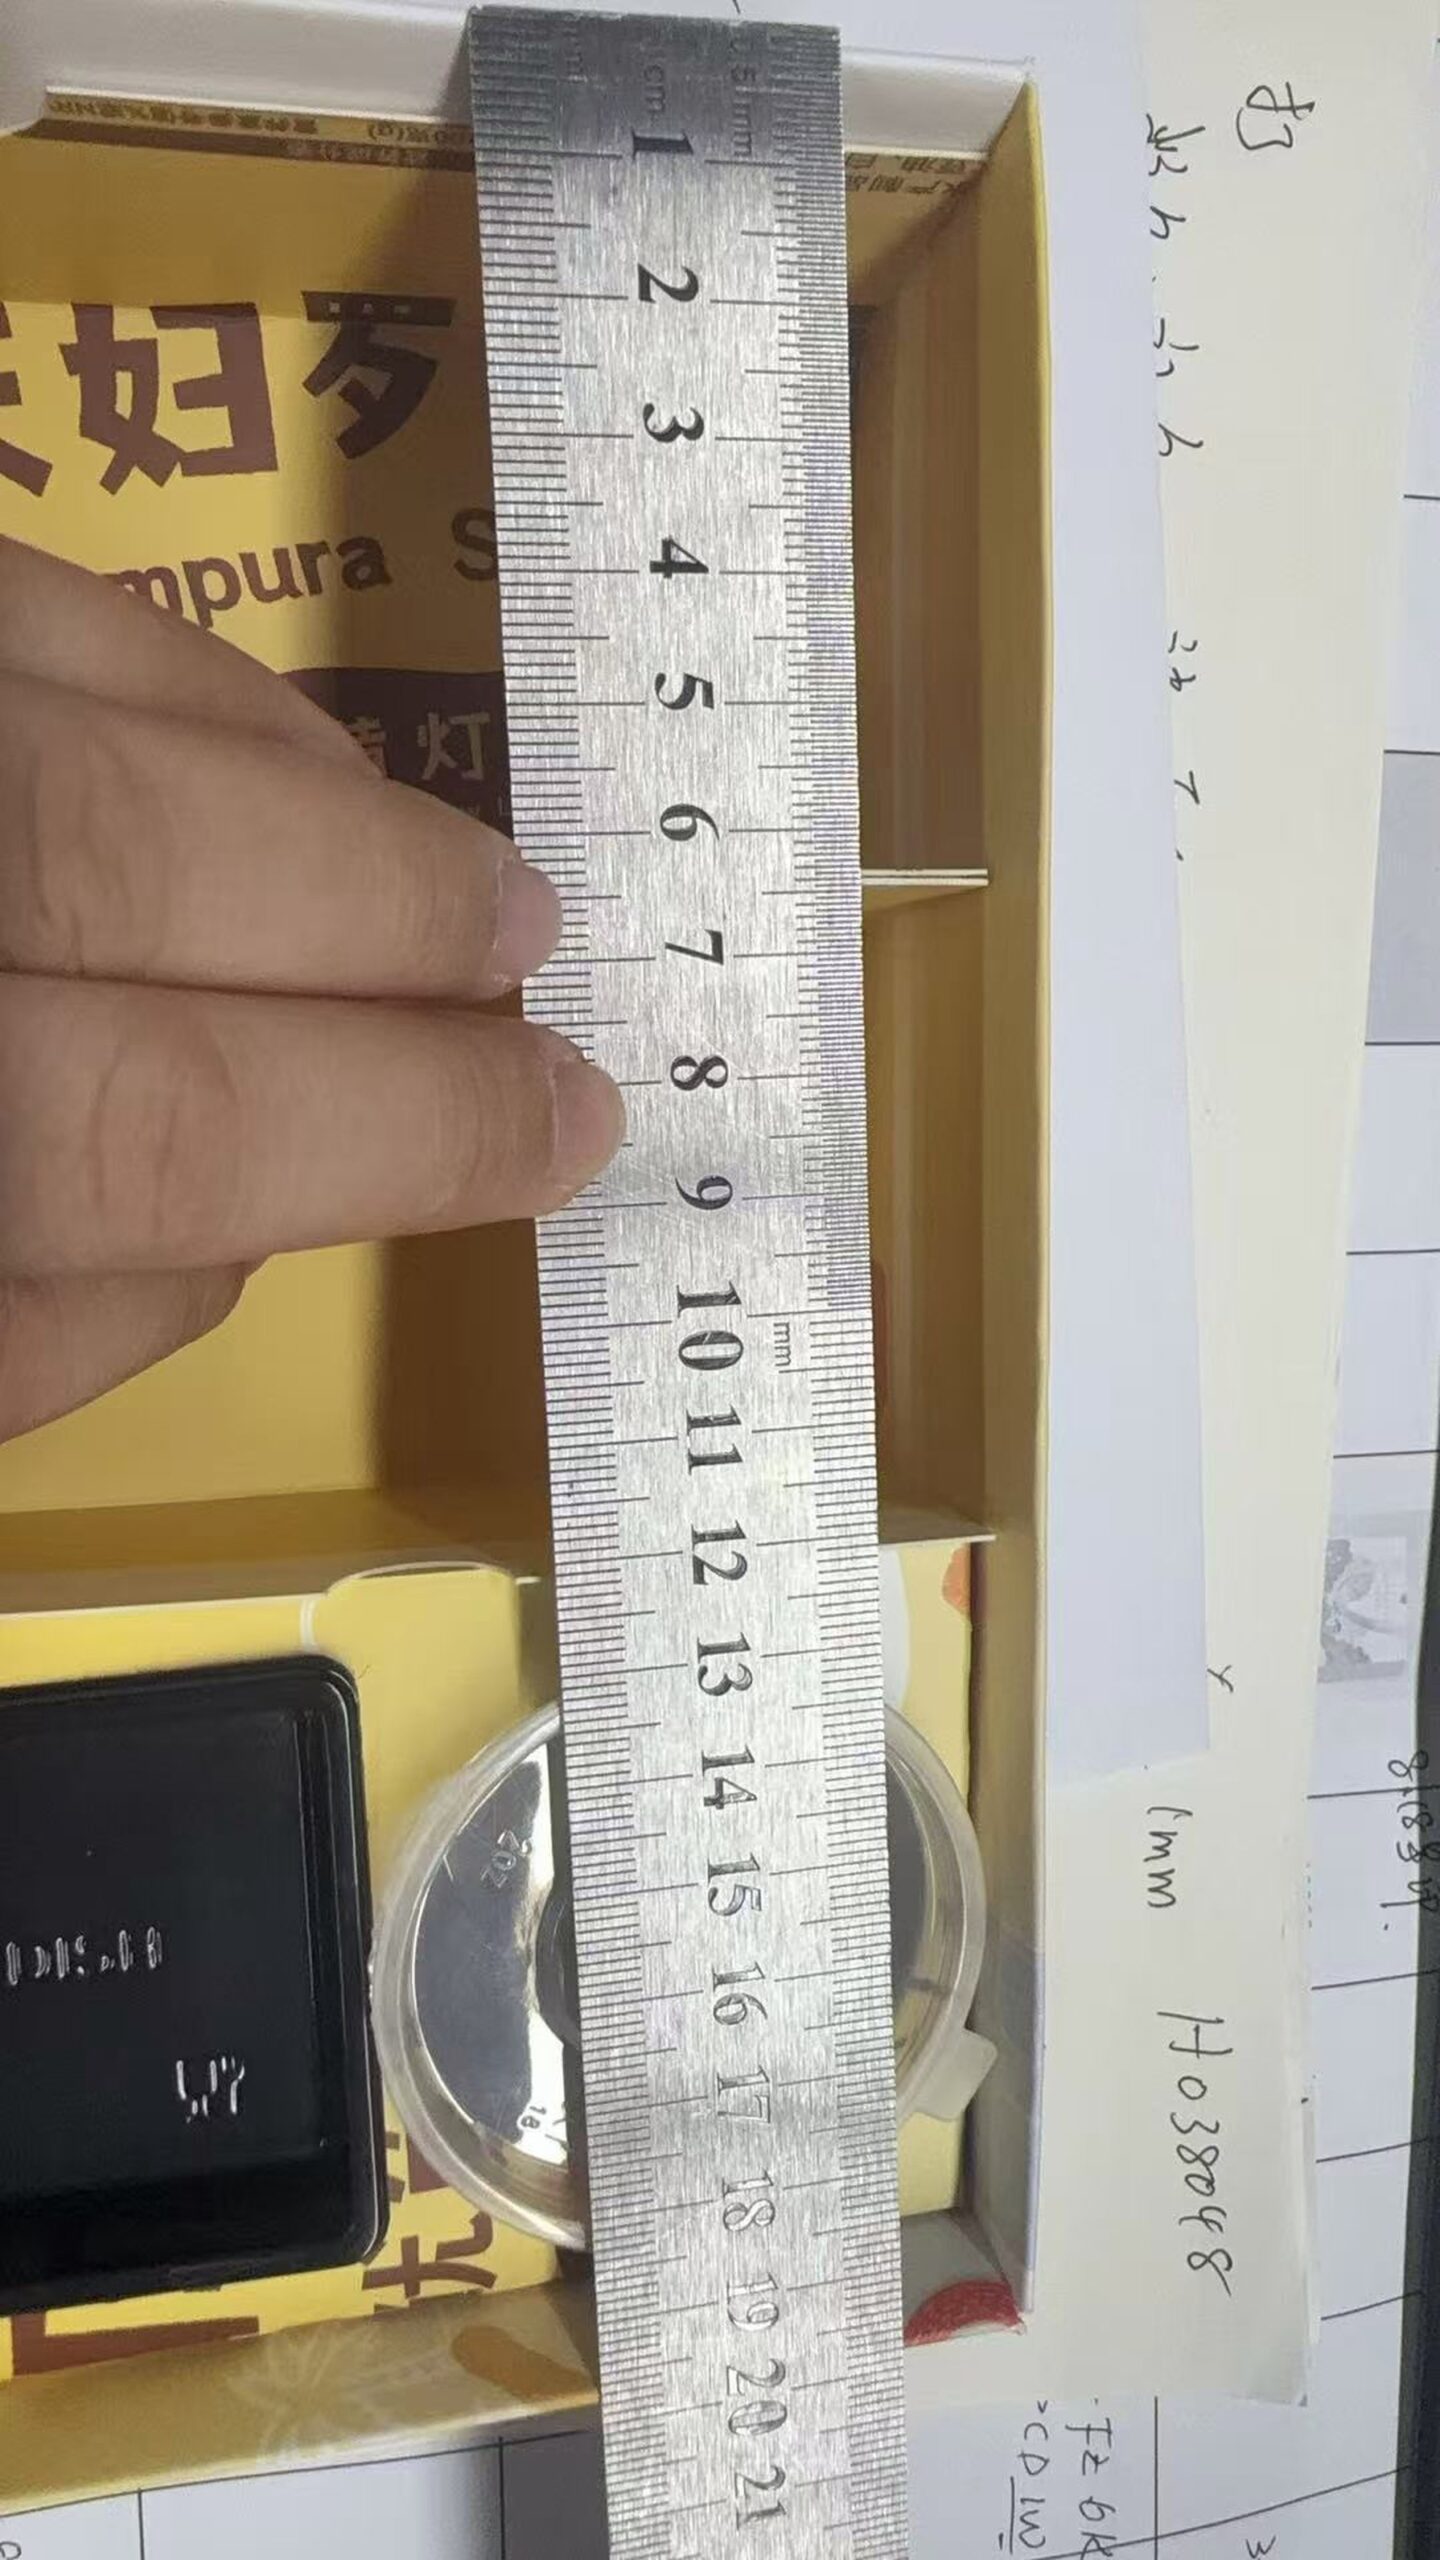
Clearance and Product Space
We check internal clearance, wall height and product position before mass production to prevent a fit problem later.
2. Three Checks We Complete With the Customer
These three stages are closely connected: we check the printed artwork, inspect the real sample and compare the approved color or material direction. Putting them together makes it easier for the buyer to see how the project moves from a file to a finished packaging decision.
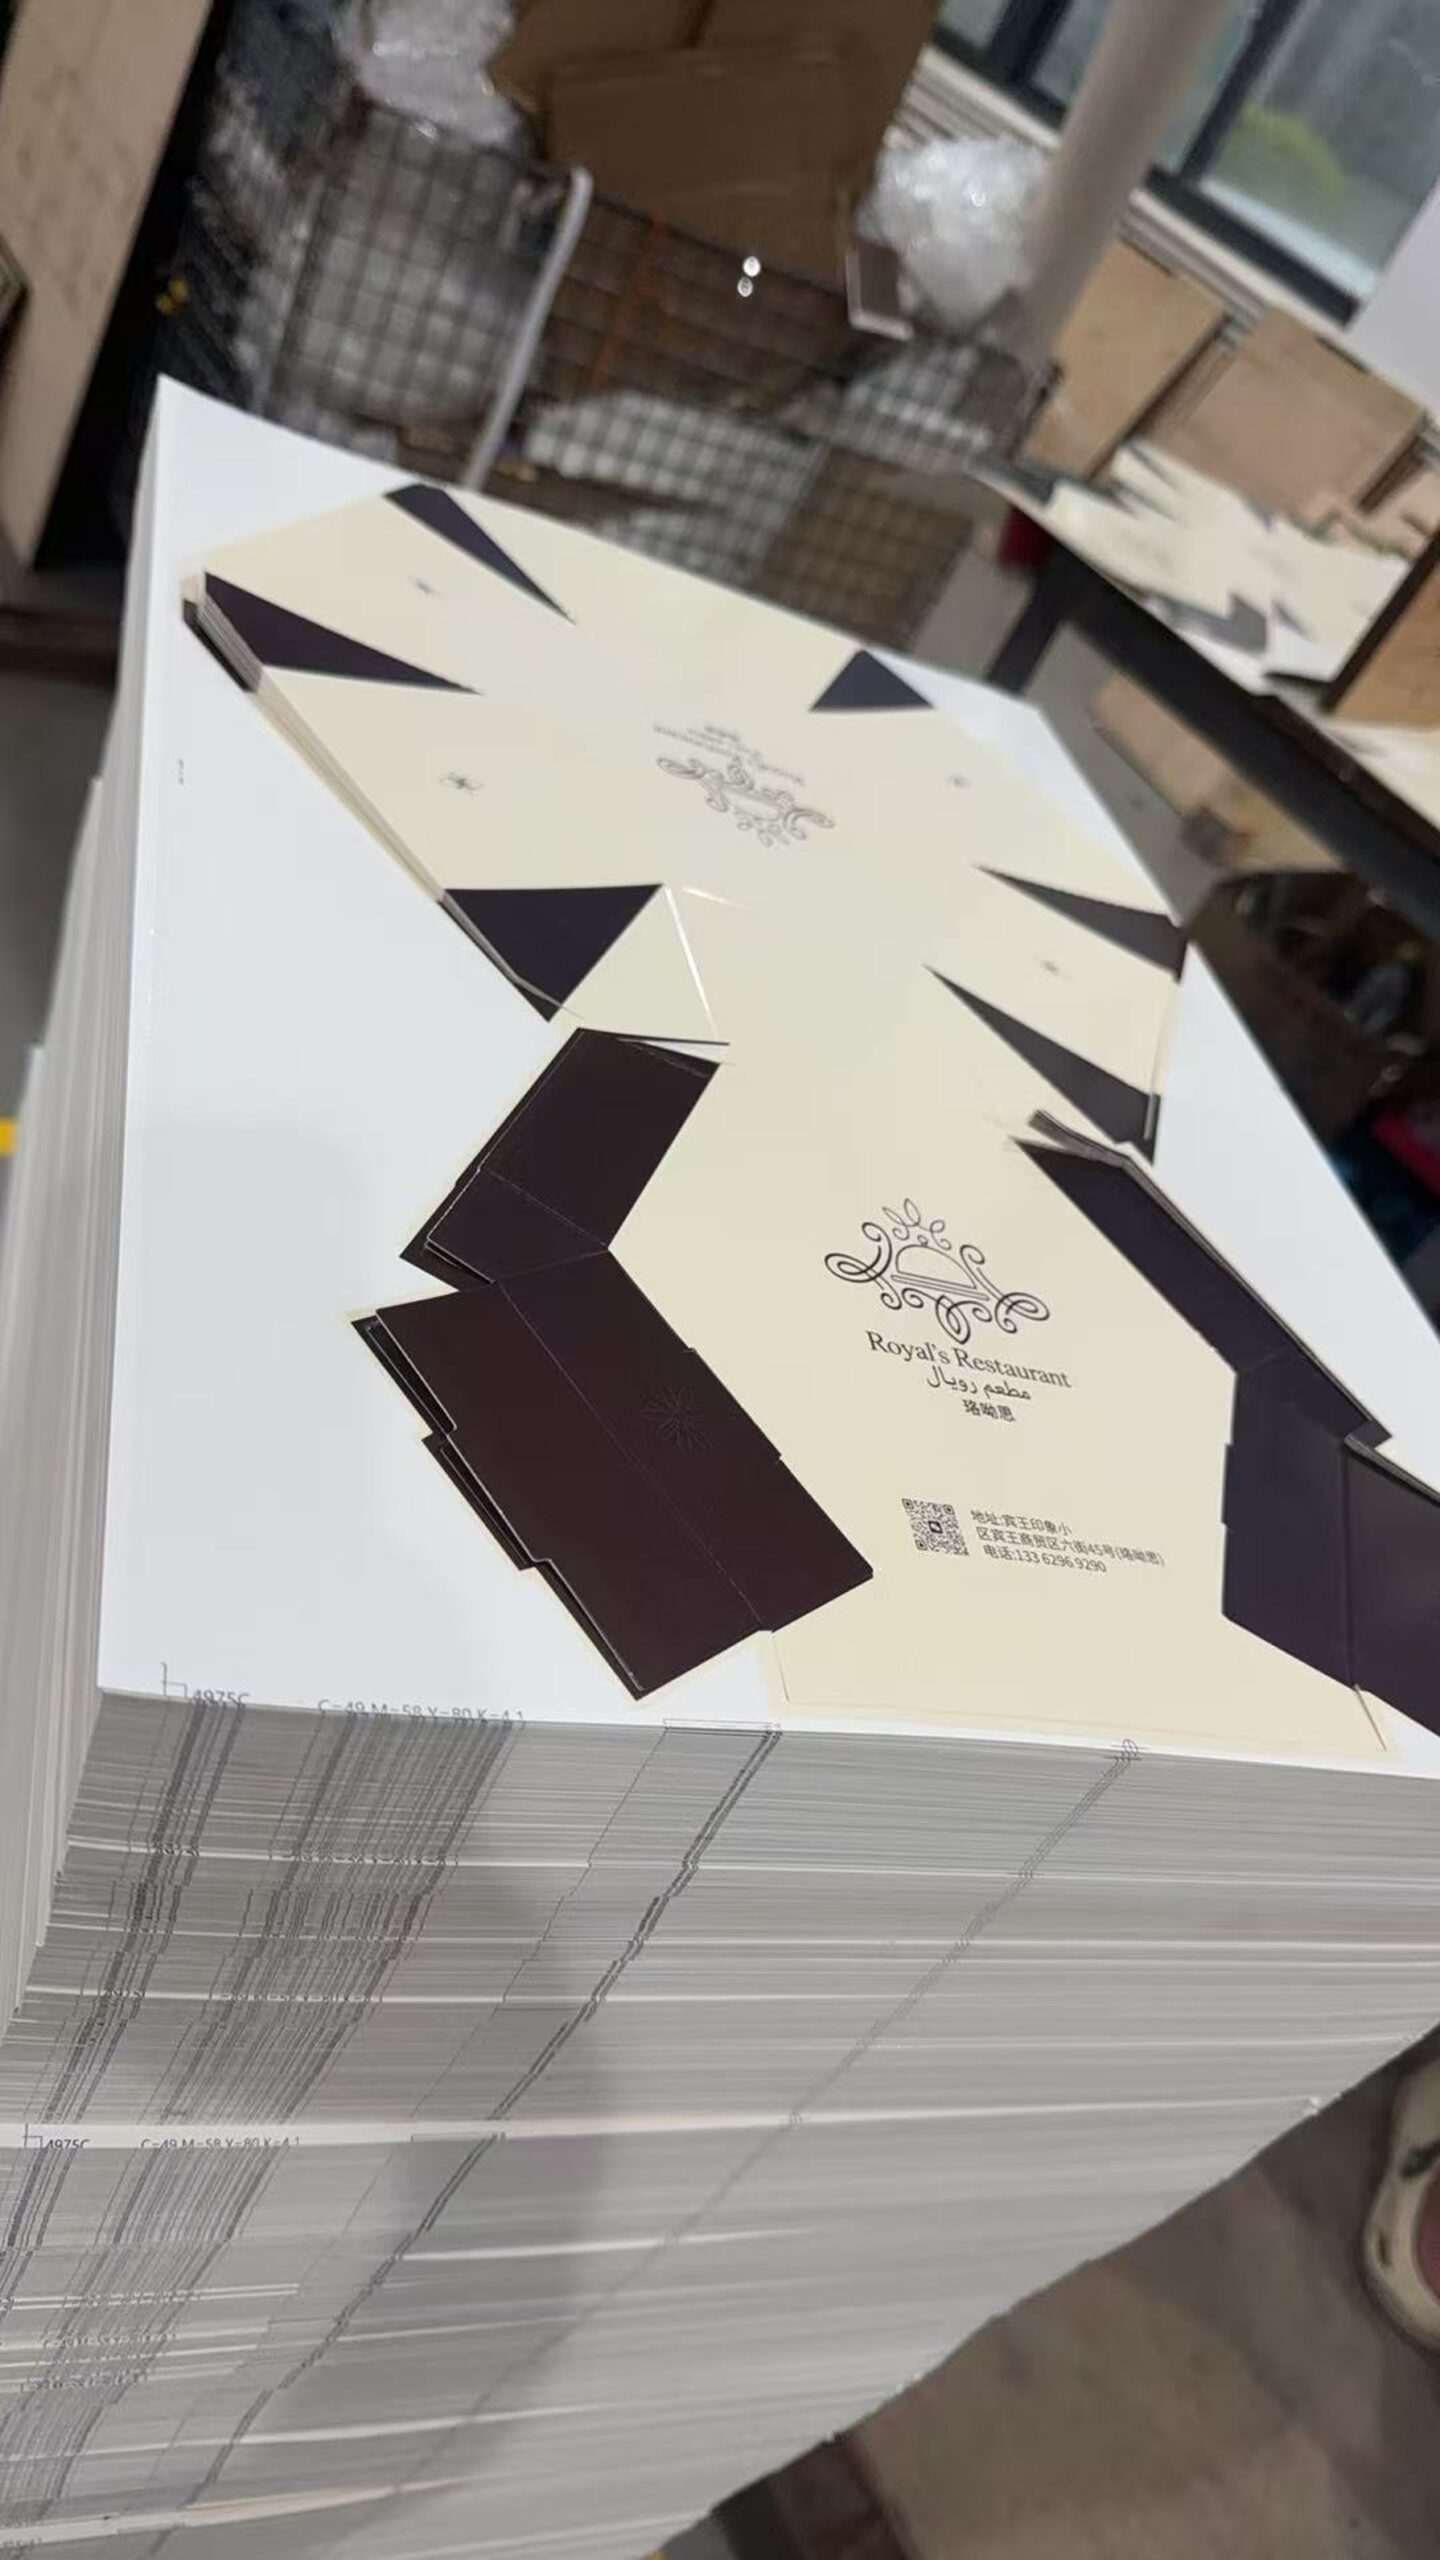
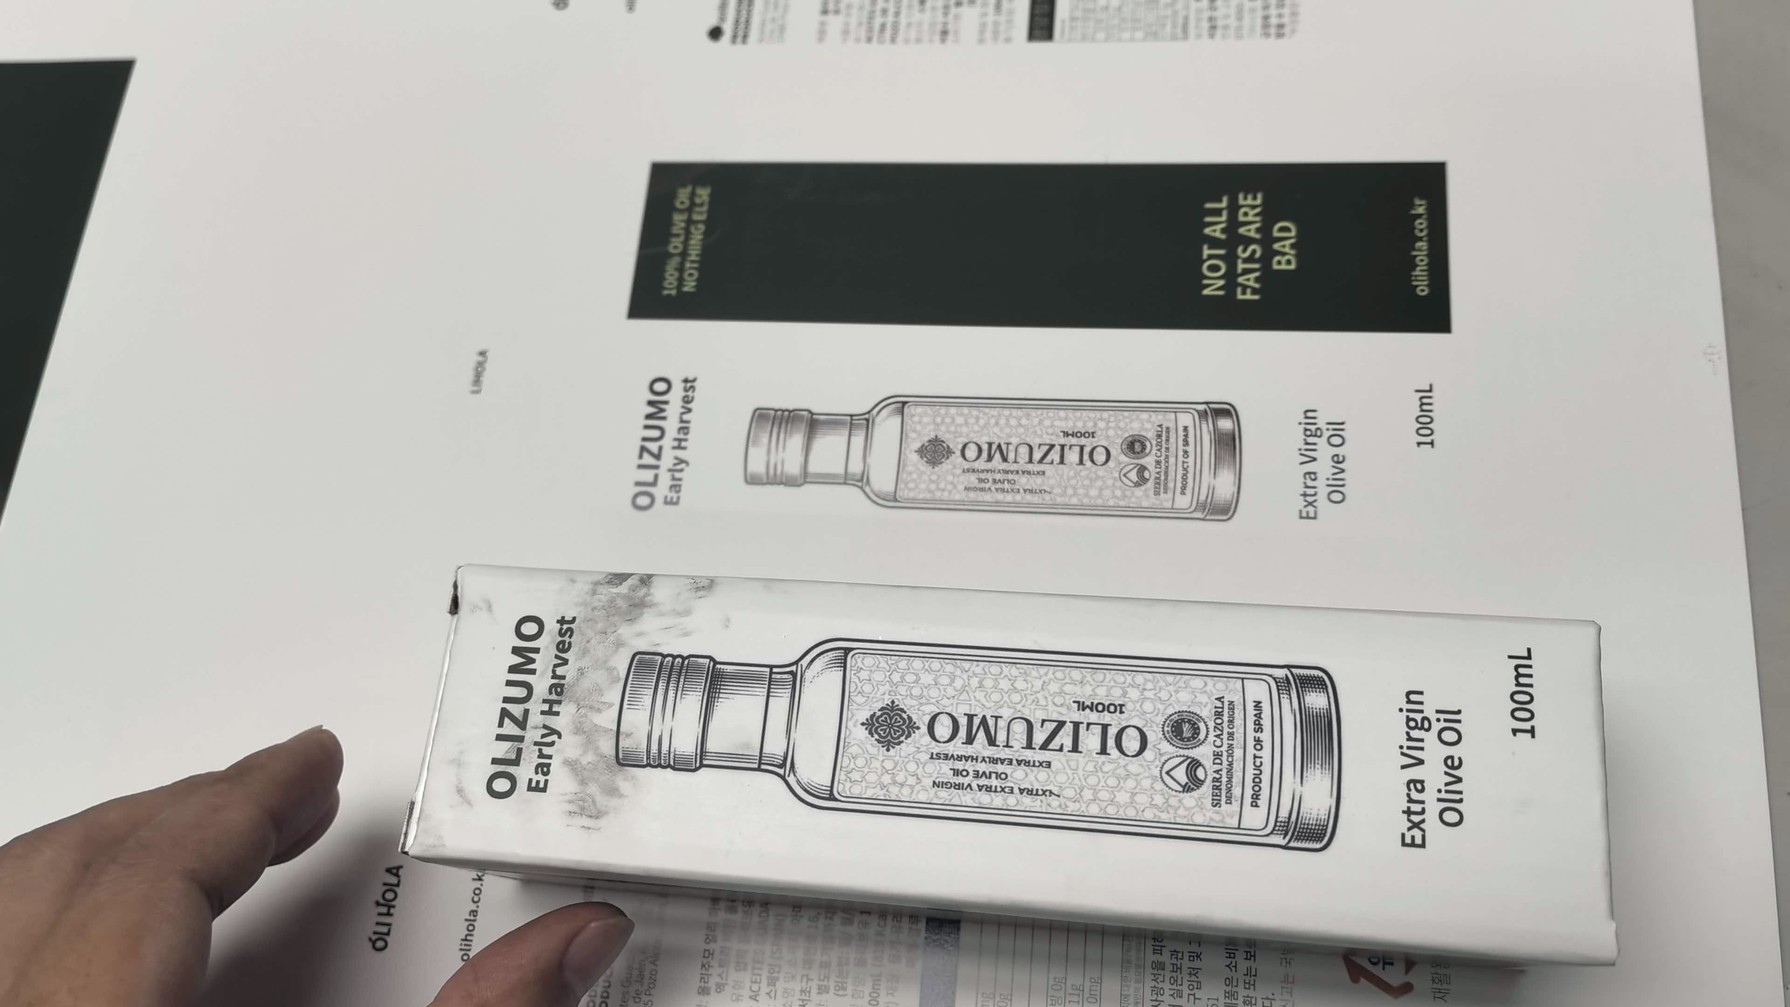
Artwork and Print Placement
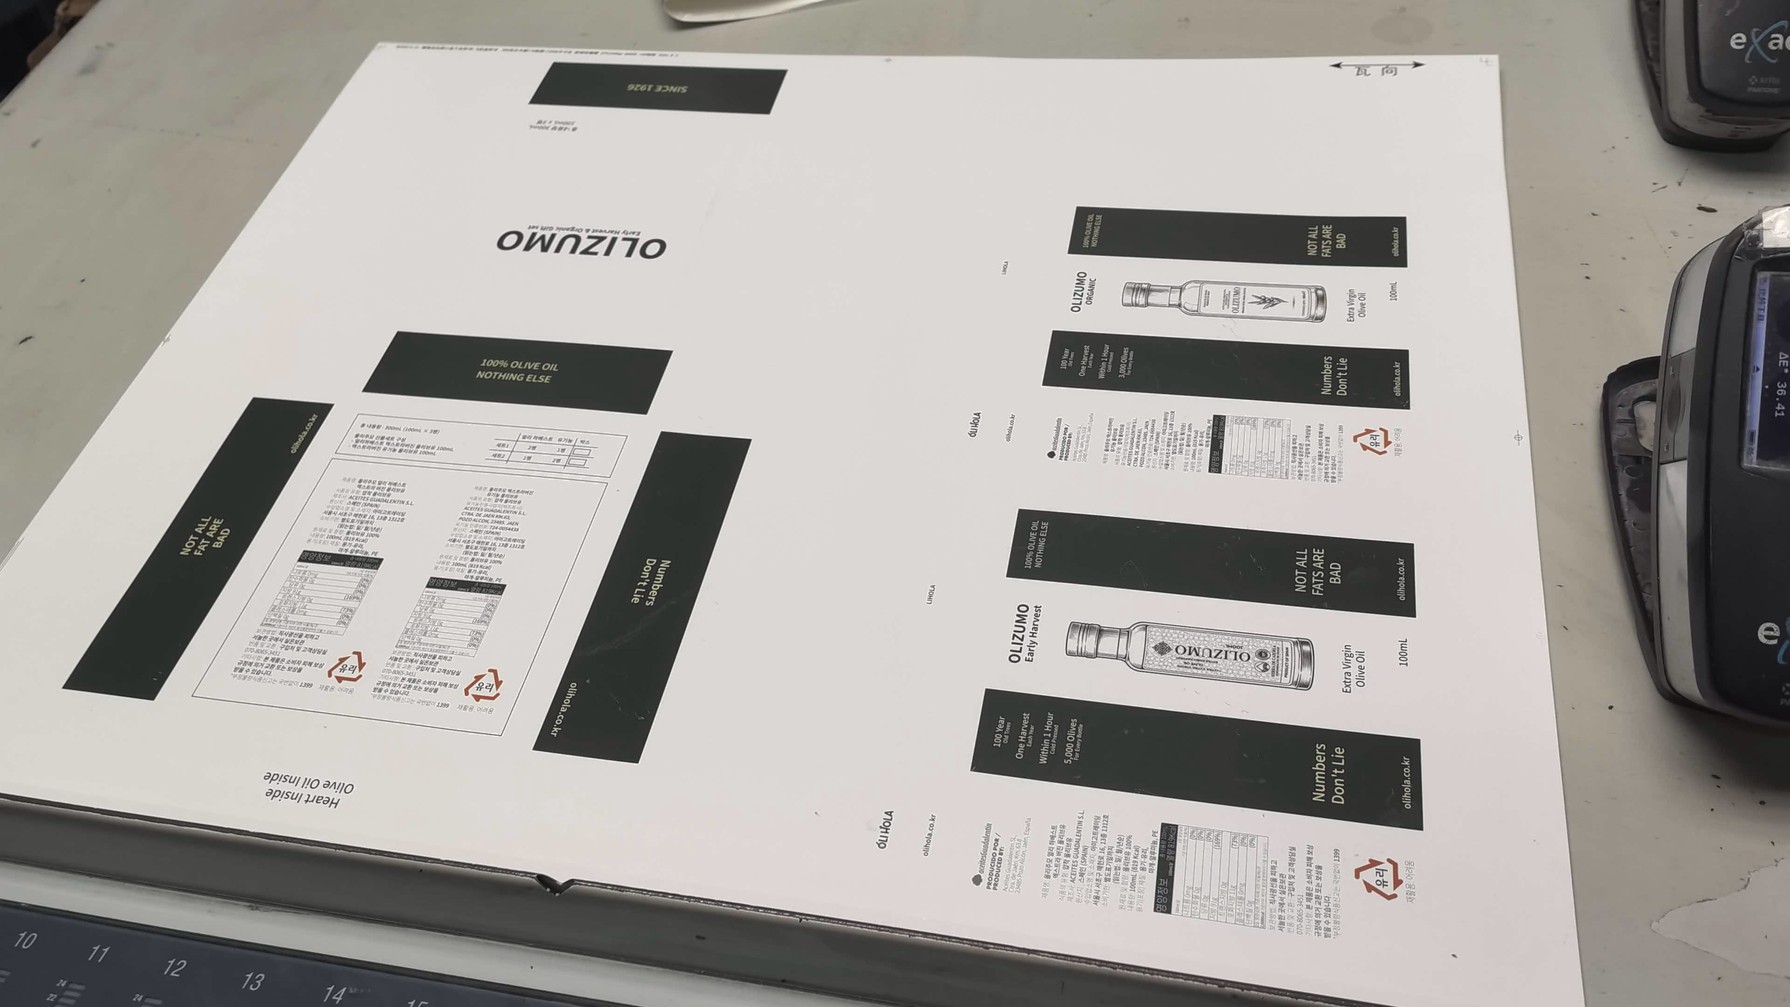
We check logo position, small text, QR codes, barcode areas and the relationship between the front, side and bottom panels before converting.
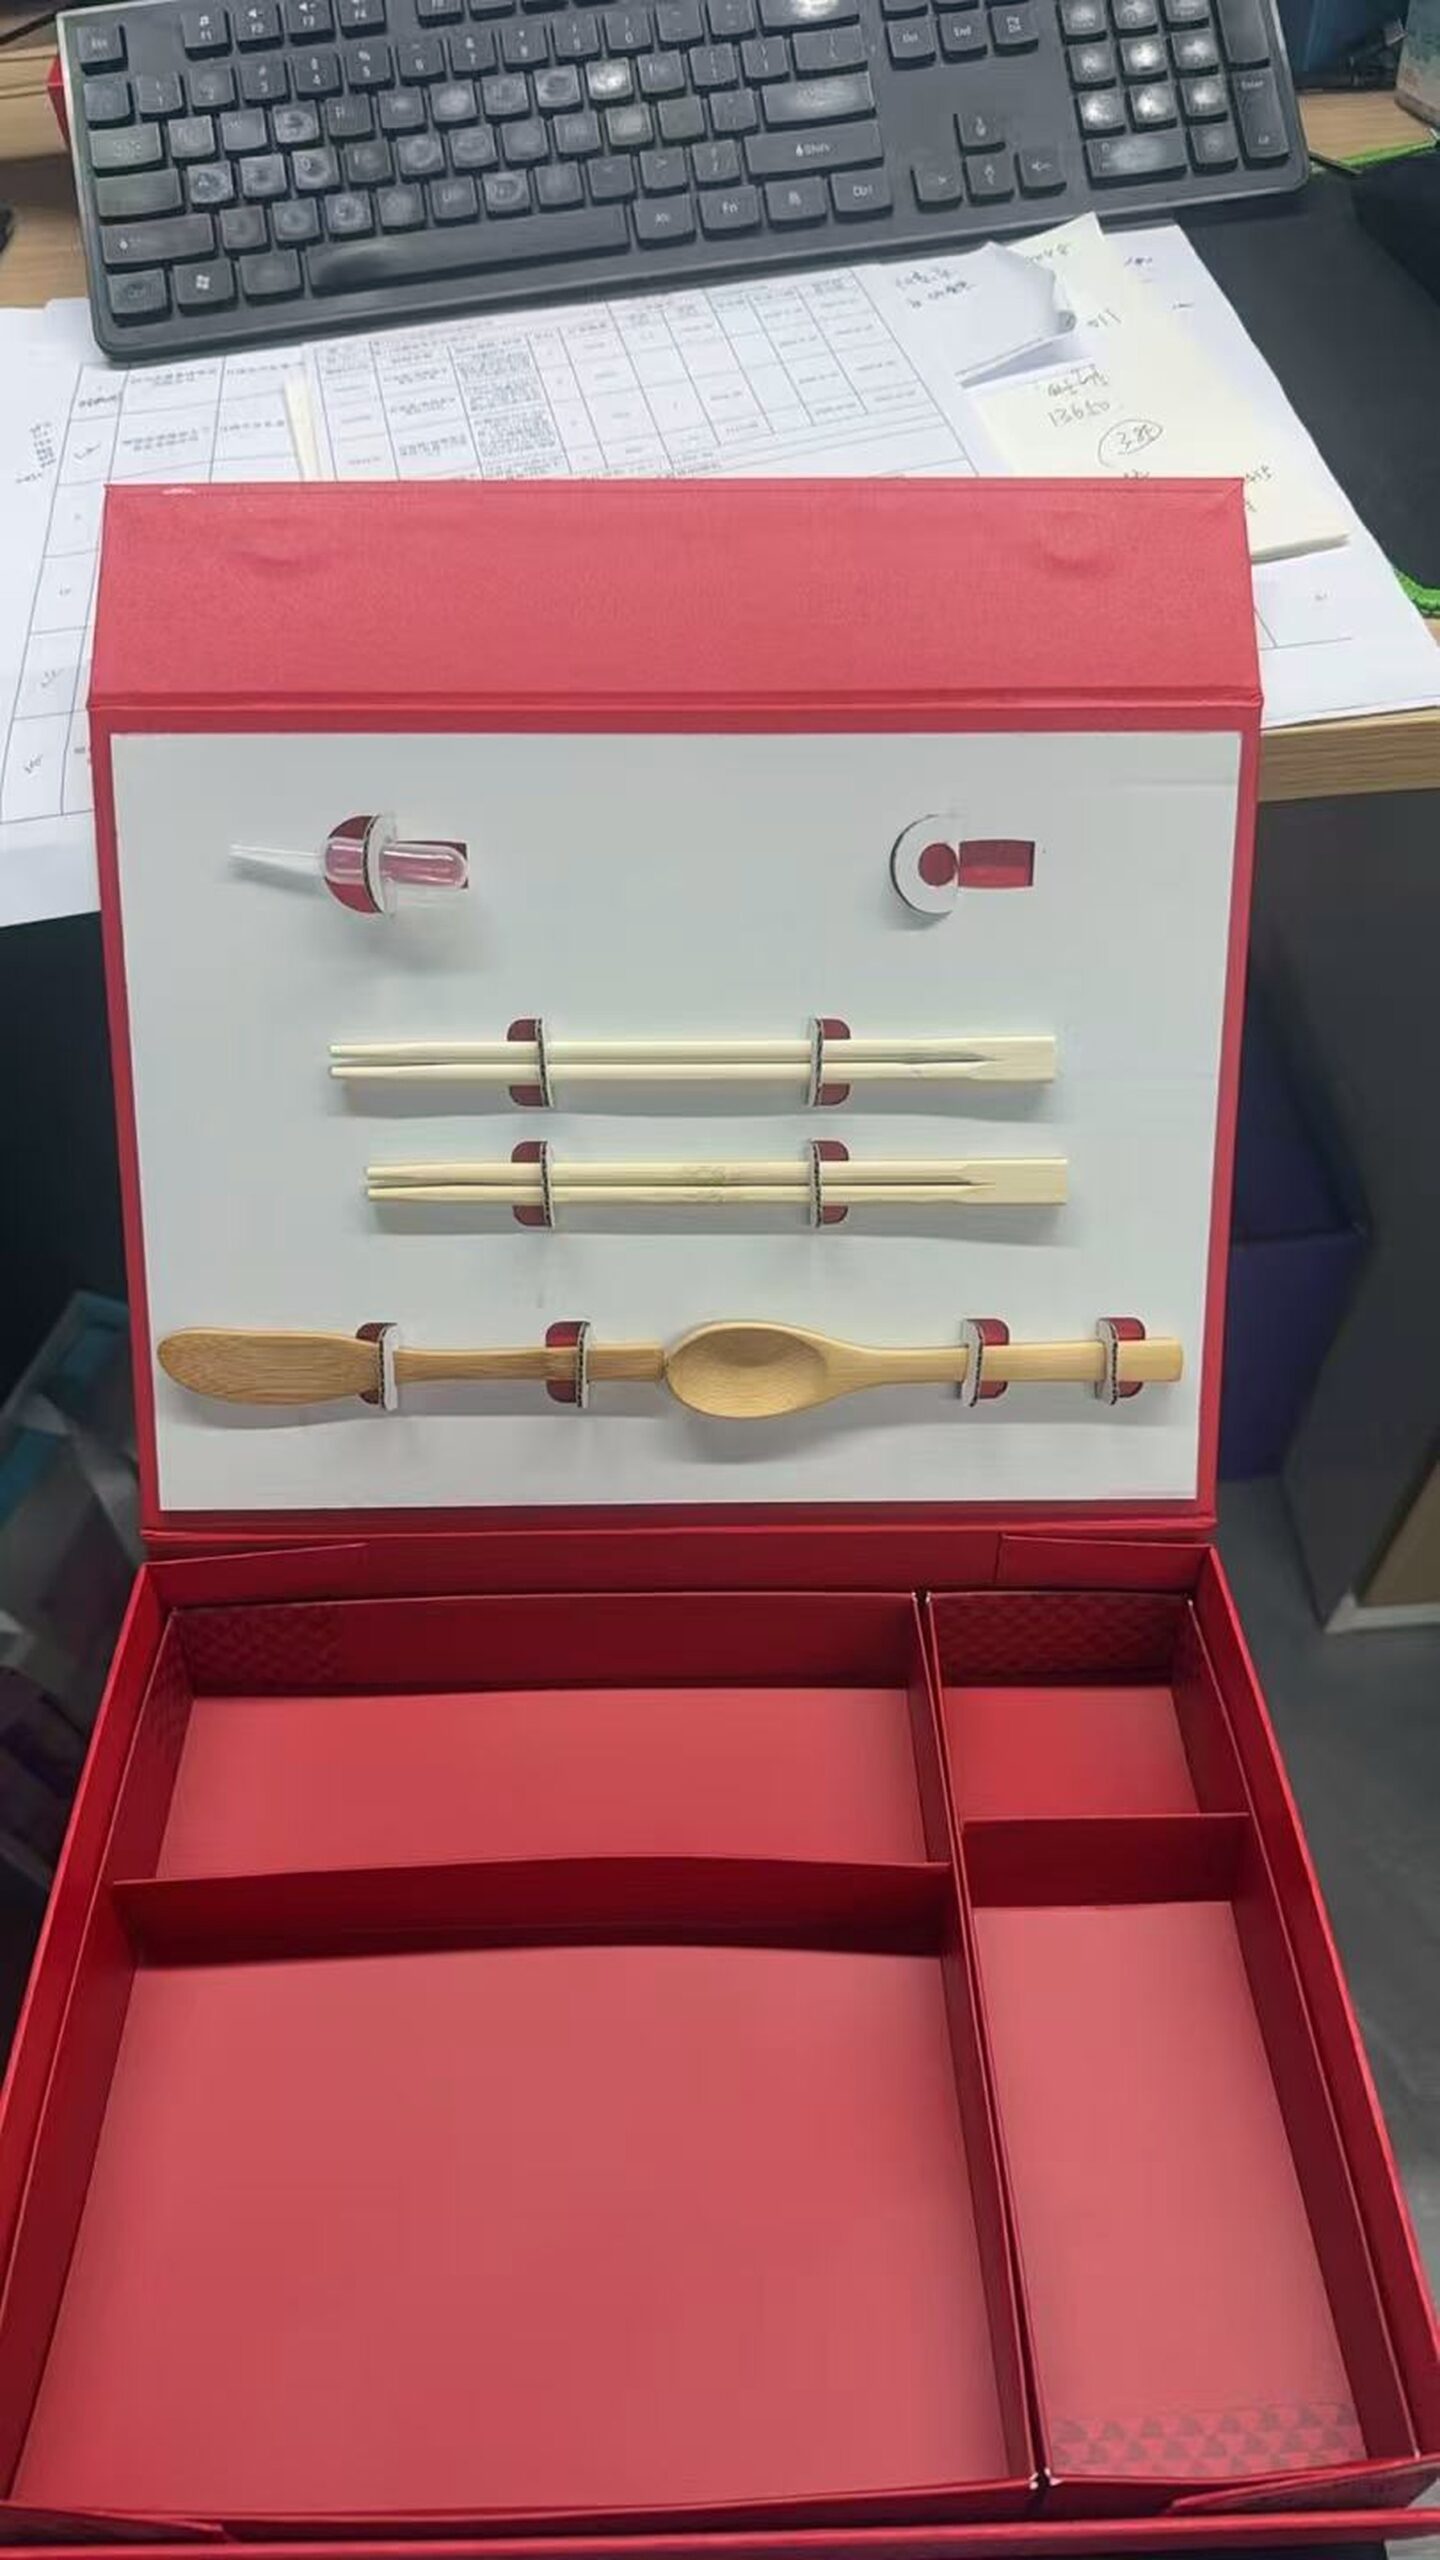
Structure and Product Fit
A physical sample confirms folding, opening, inserts, product fit and the real customer experience before mass production.
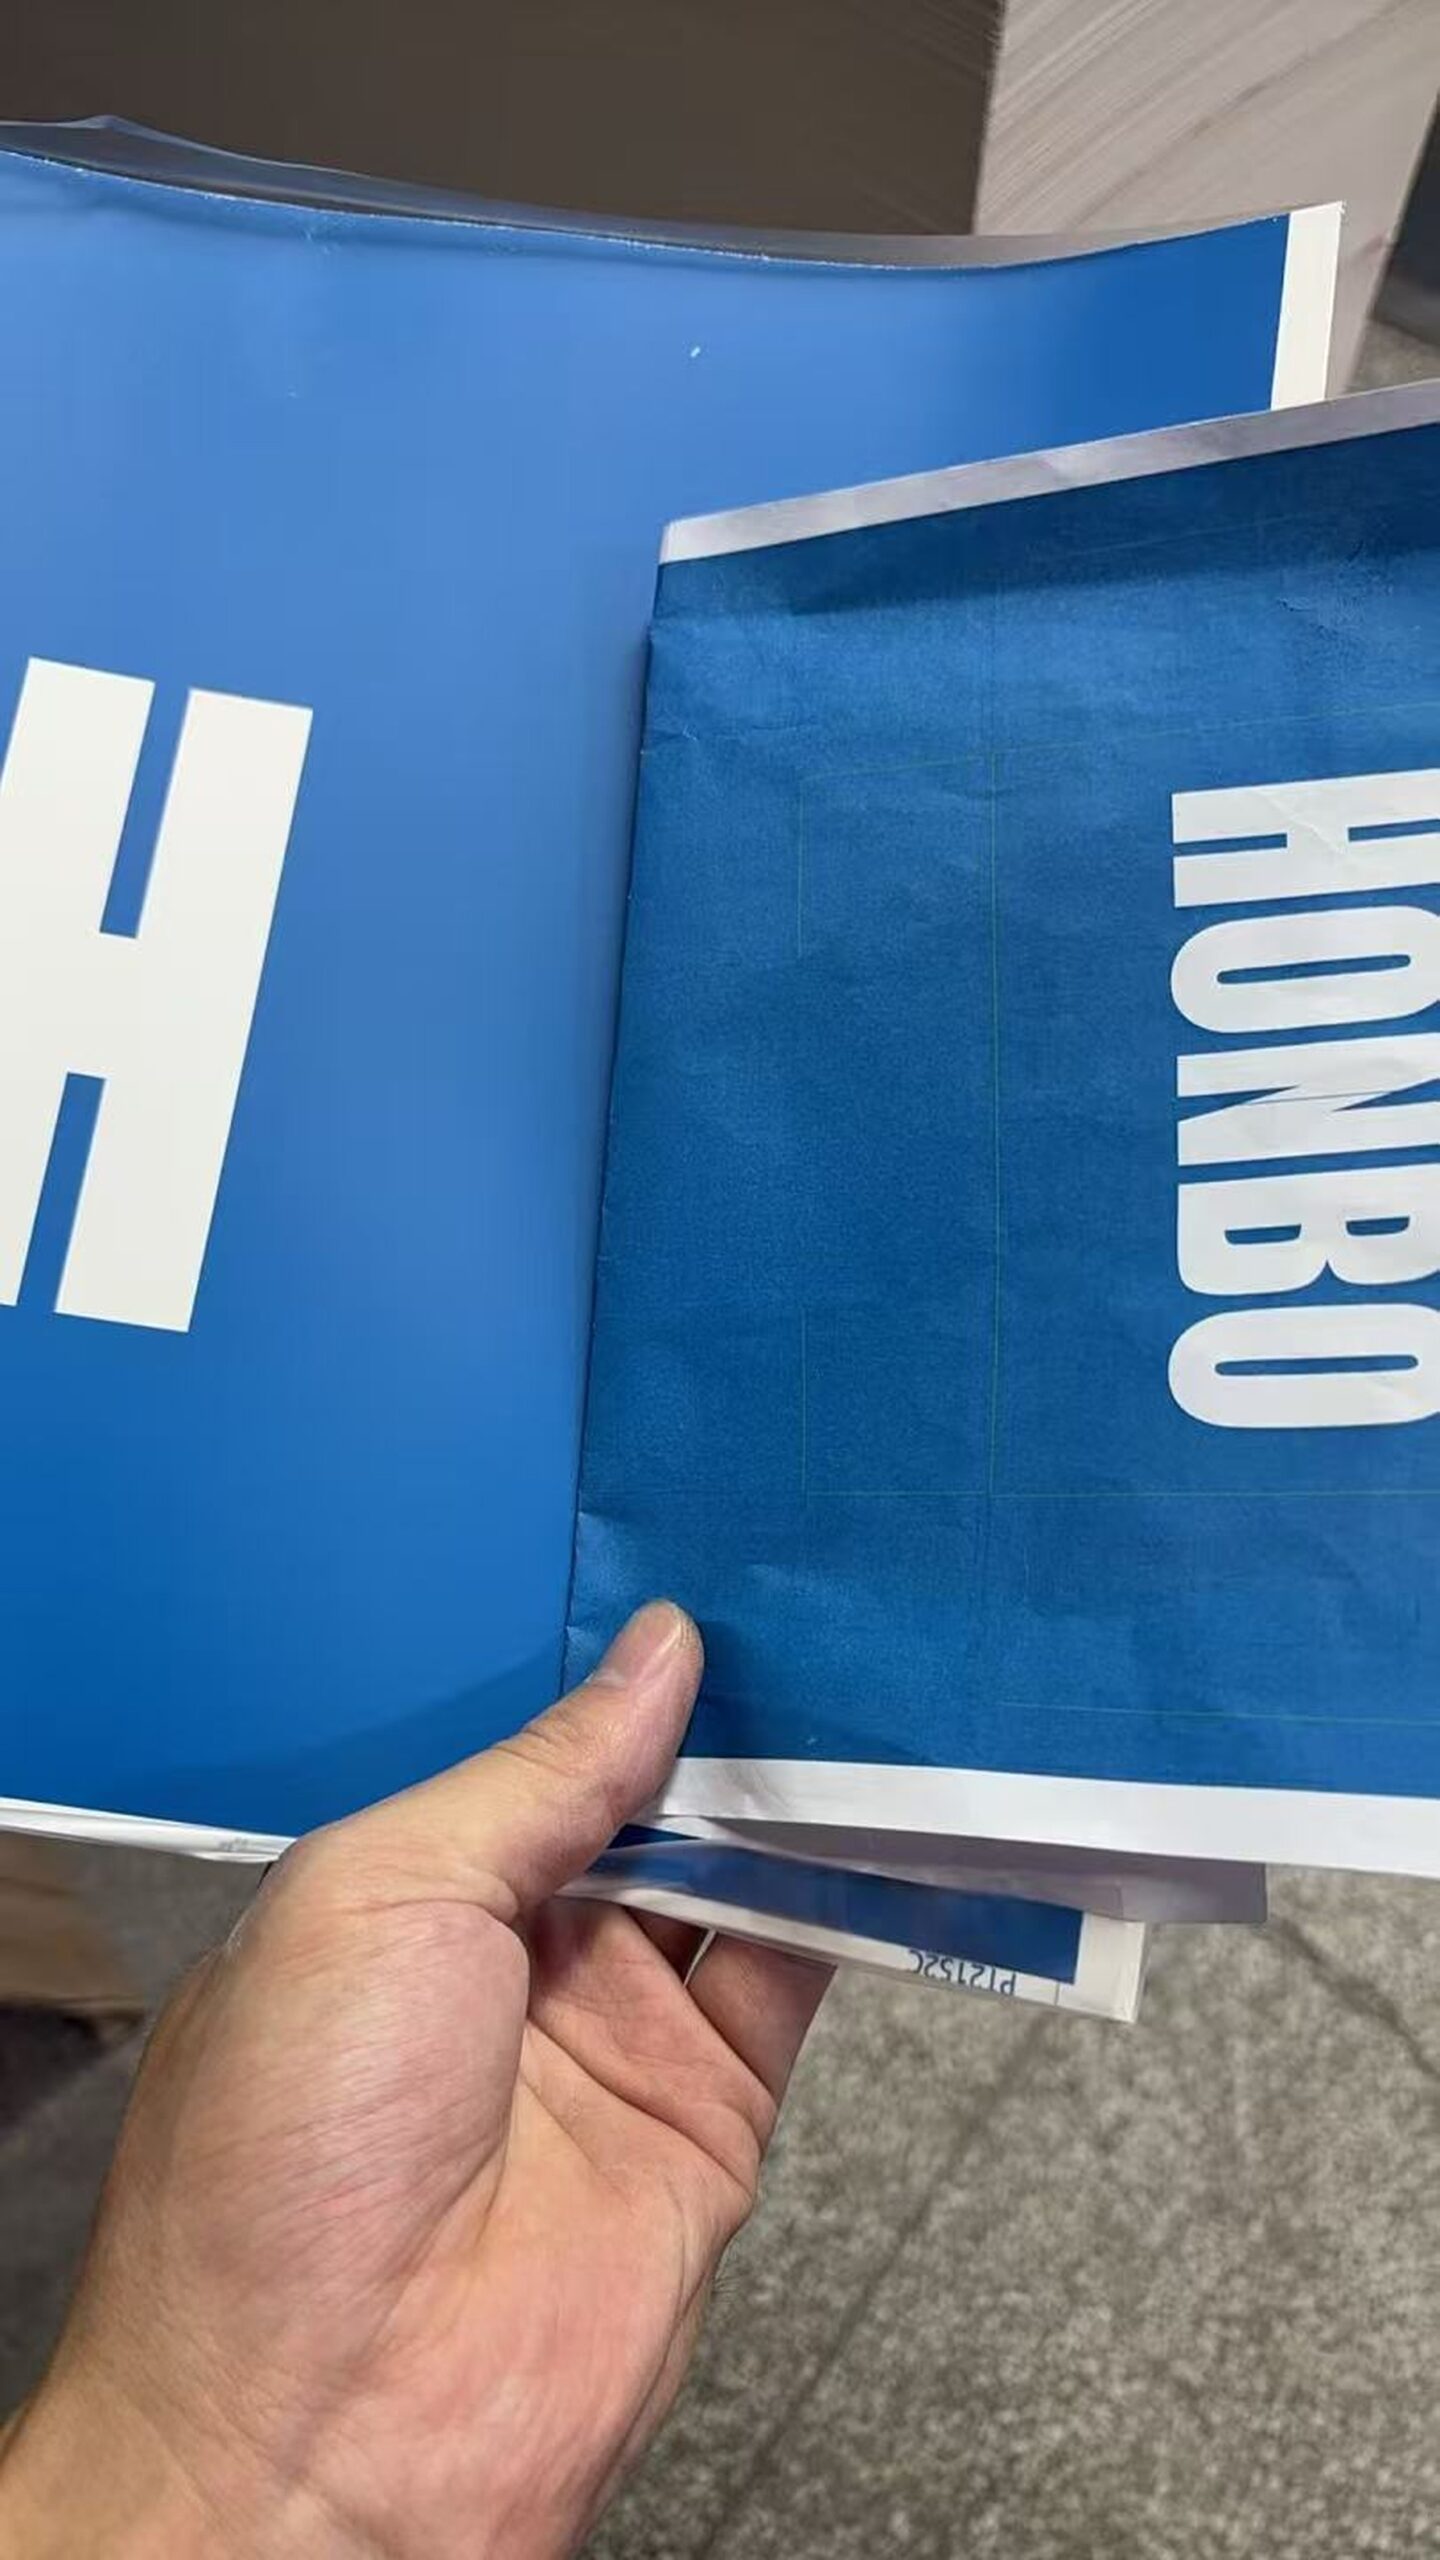
Color and Material Reference
We compare the printed sample with the approved artwork, paper stock and physical color reference so production follows one clear direction.
3. Printing Is Only One Part of the Finished Package
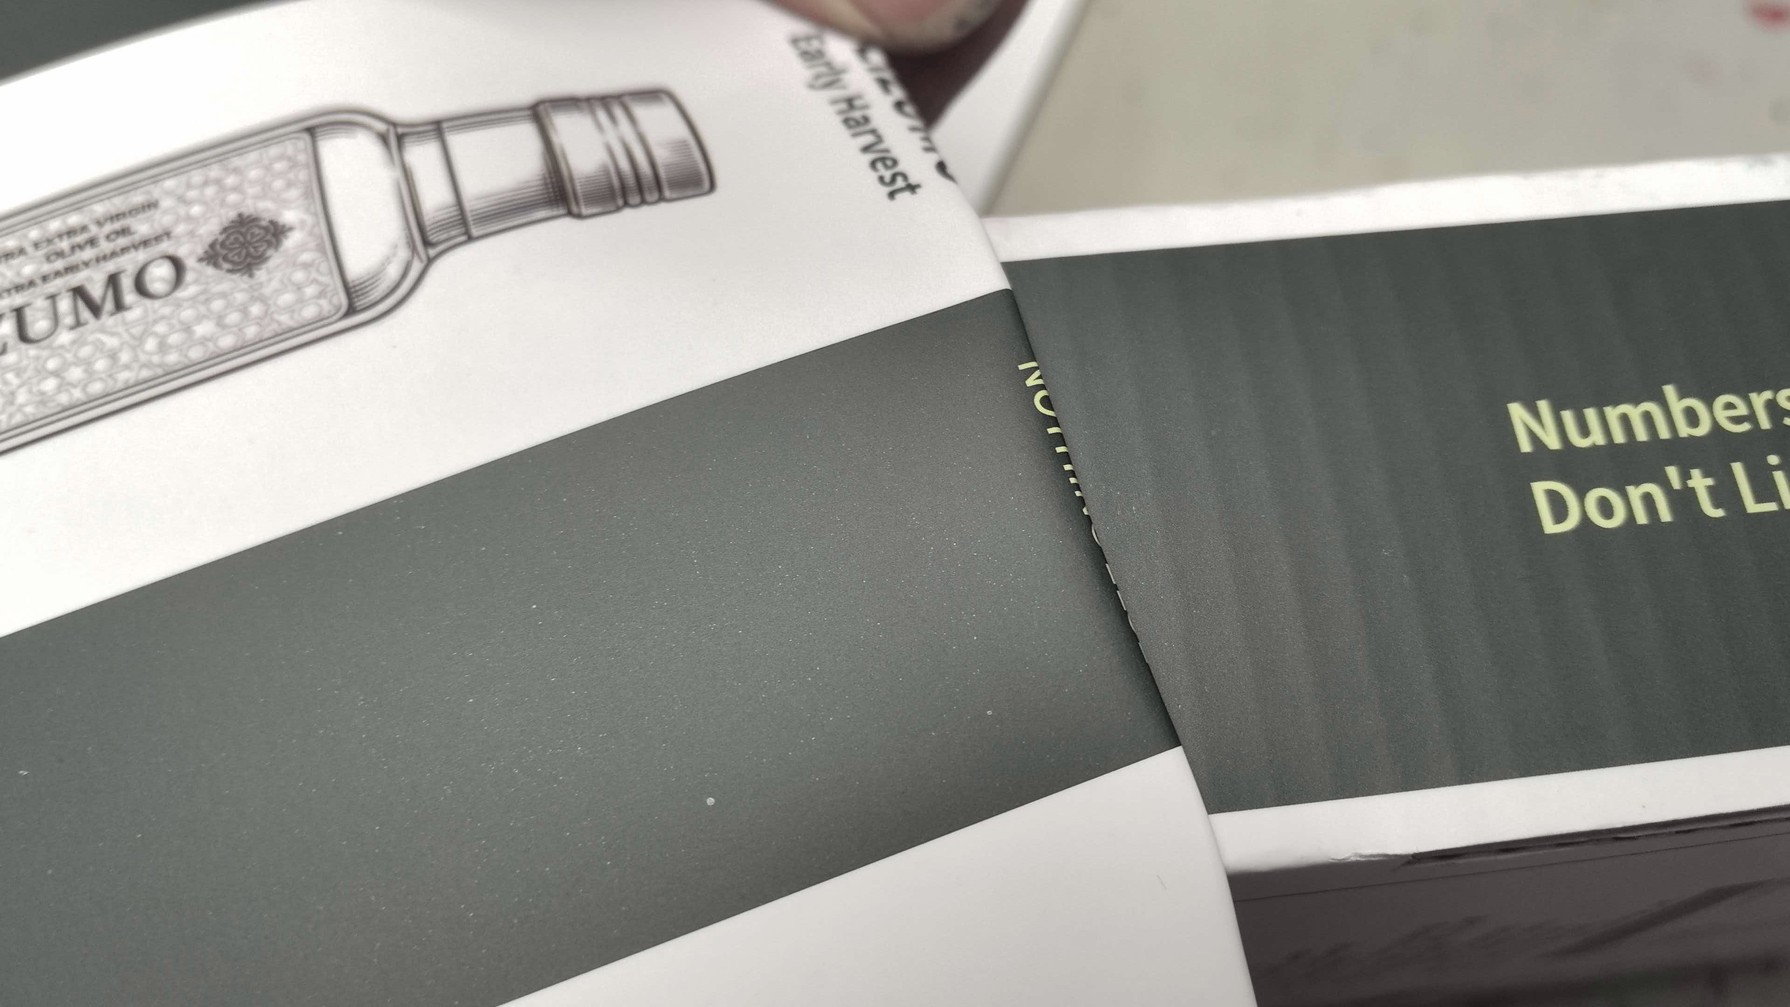
After printing, the sheets may go through lamination, varnishing, foil stamping, embossing, die cutting, creasing, gluing and assembly. Each process affects the final appearance and the way the box feels in the hand.
We check whether the coating affects folding, whether the die-cut edges are clean, whether the glue area is secure and whether the finished panels align. For premium boxes, the quality of these details is often what separates a sample that looks acceptable from packaging that feels ready for a brand launch.
4. Packaging Quality Also Includes How the Boxes Are Packed
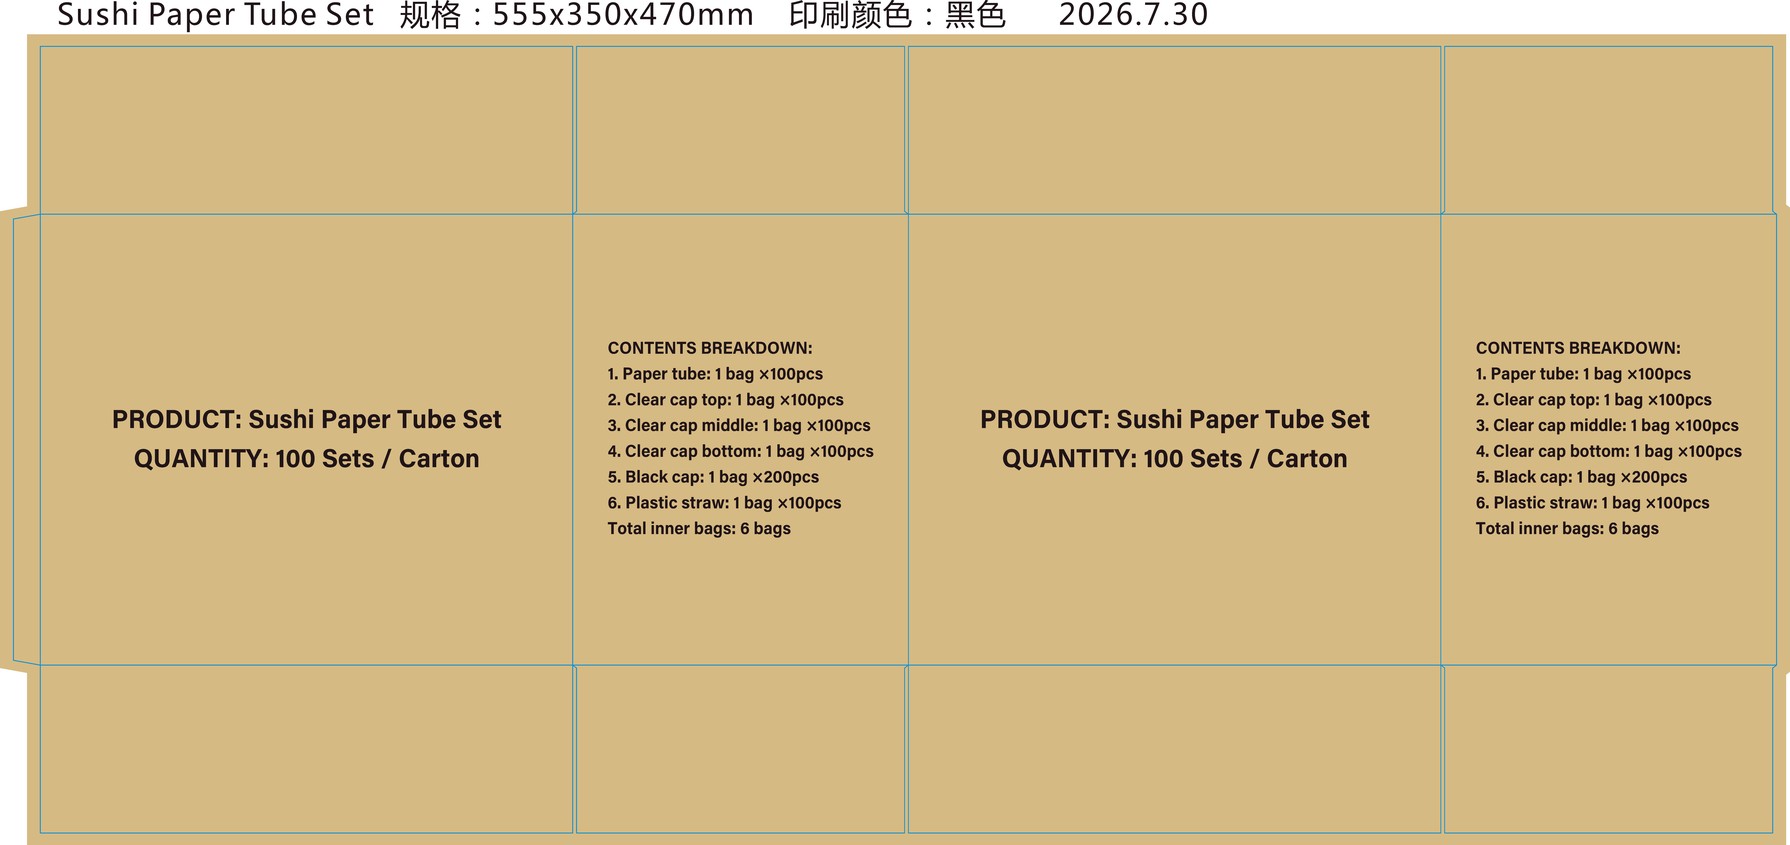
A finished box can be damaged if it is packed without enough protection or if the packing direction creates pressure on the corners. Before shipment, we confirm whether the boxes are assembled, flat-packed, nested or separated with inner bags and cartons.
Packing quantity, carton size, gross weight and shipping marks are part of the production conversation. These details help the buyer plan warehousing and reduce surprises when the order arrives. For export projects, the packing method should be reviewed before the final quotation is approved.
5. Eight Production Checkpoints at a Glance
Each stage of this project moves through a specific check. The table below lines up every checkpoint with what our team verifies before the next production step begins.
| Checkpoint | Stage | What We Verify |
|---|---|---|
| 01 | Dieline Review | Panels, folds, glue flaps, locking tabs, opening direction and artwork orientation. |
| 02 | Outside Size | Approved dimensions checked against the physical box and product. |
| 03 | Internal Fit | Internal clearance, wall height and product position. |
| 04 | Print Check | Logo position, small text, QR codes, barcode areas and artwork alignment. |
| 05 | Physical Sample | Folding, opening, inserts, product fit and the real customer experience. |
| 06 | Color Matching | Printed sample against approved artwork, paper stock and physical color reference. |
| 07 | Production and Finishing | Lamination, varnish, foil, embossing, die cutting, gluing and panel alignment. |
| 08 | Packing and Shipping | Assembled, flat-packed or nested cartons, packing quantity and inner protection. |
6. What Customers Should Confirm Before Mass Production
When a buyer requests a change after sampling, we separate the change into three questions: does it affect the structure, the artwork or the production cost? A logo adjustment may only require a file update, while a new product size can affect the dieline, material use, packing quantity and quotation. Listing the requested changes clearly helps the factory respond quickly and prevents an old version from being used by mistake.
Before mass production, we recommend that the buyer approve one final reference set: the final artwork, the final dimensions, the approved color direction, the finishing requirement and the packing method. This creates one shared production baseline for the customer, sales team, designer and factory. It also makes later quality inspection more objective because the finished order can be compared with an agreed reference.
Good Packaging Service Is Visible in the Details
The goal is not simply to manufacture a box. The goal is to help the customer move from an idea to a package that can be produced, assembled, packed and used with confidence. That requires design communication, physical checking and careful production follow-up at every important stage.
Custom Paper Box Manufacturing FAQ
How does a custom paper box project start?
It starts with product dimensions, weight, quantity, use scenario, artwork and packaging requirements. The factory then confirms the structure and prepares a dieline or sample.
How do you match the customer’s packaging color?
The team checks the artwork, paper stock, CMYK or Pantone direction and physical proof or sample. The approved color reference is used for production control.
Why is a physical sample important before mass production?
A physical sample confirms fit, folding, opening, inserts, print placement and assembly before the buyer commits to the full production run.
What should a buyer provide for an accurate quotation?
Send product size and weight, box style, quantity, paper or board preference, printing, finishing, packing method, destination and target delivery date.