

Costco POD packaging reference | Supplier guide
Costco POD Packaging Requirements: A Supplier Checklist for Display-Ready Pallet Loads
Costco’s Product on Display, or POD, model is designed to move a display-ready quantity of merchandise from the supplier through depot handling and onto the warehouse floor with as little extra handling as possible. That makes the outer load unit part of the packaging system, not an afterthought added after the sell unit has already been designed.
This article summarizes the provided June 2025 POD Guidelines document. It is an educational packaging reference for suppliers and brand teams. It is not Costco approval, a replacement for buyer review, or a substitute for a qualified packaging engineer and the latest project-specific Costco requirements.
The practical lesson is straightforward: a Costco-ready load must be dimensionally disciplined, mechanically strong, clearly marked, recyclable where specified, and compatible with the way the load will be clamped, double-stacked, palletized, moved, and opened at the warehouse.
01 | Start with the load footprint
Design the POD around the 48 x 40 inch target footprint
The supplied guidelines state that a POD should be built as close as the item allows to 48 x 40 inches, or approximately 121.9 x 101.6 cm. The footprint must not exceed 48 x 40 inches and should not be smaller than 46 x 38 inches, or approximately 116.8 x 96.5 cm. The 48 inch side is treated as the primary shopping or display side.
This range affects more than the bottom tray. It influences sell-unit orientation, layer alignment, corrugated shroud size, corner-board position, banding direction, pallet fit, and the amount of empty space that could allow movement. A footprint that is too small may waste available shipping space; a footprint that is too large can interfere with handling equipment and pallet placement.
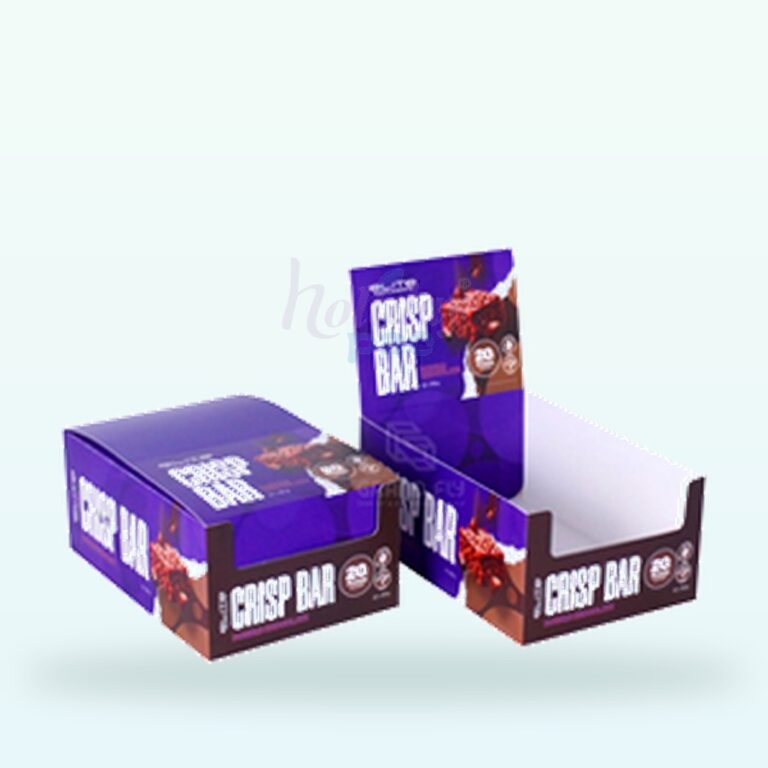
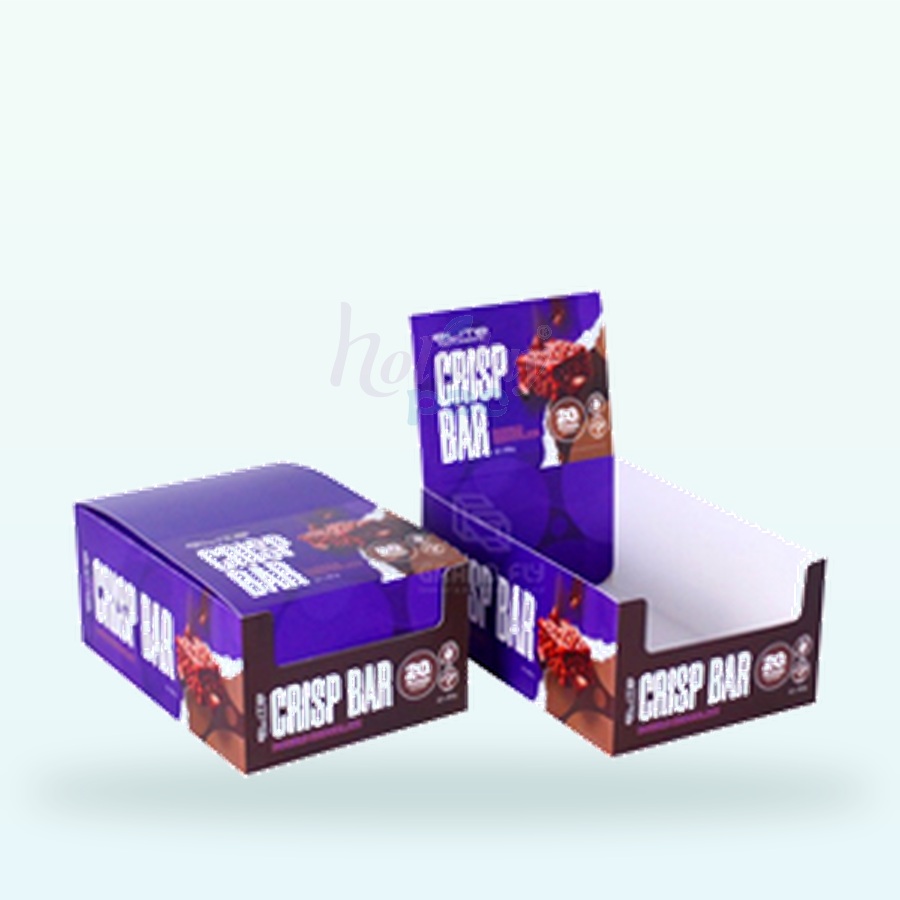
The custom shelf-ready display tray example is a useful reference for thinking about front-facing product orientation and replenishment. A real Costco project still needs the actual sell-unit dimensions, product weight, display method, and buyer-approved format before the final POD footprint is released.
02 | Choose the load-bearing materials
Corrugated shrouds, seamless caps, bottom trays, V boards, and plastic straps each have a job
The POD is built from a coordinated group of parts: corrugated shroud panels, a top cap, a bottom tray, corner posts or V boards, layer trays or sheets, and banding straps. The supplied guidelines call for seamless top-cap and bottom-tray panels with sides of at least 4 inches to help secure the load.
Corner posts are especially important because PODs may be double-stacked inside containers and again after being placed on pallets. The guidelines specify widely recyclable materials and prohibit plastic corner posts. The posts should remain rigid, should not flex easily, and should be strong enough to carry the load placed above them. The reference dimension is approximately 3 x 3 inches, or 7.6 x 7.6 cm, to confine the shroud and completed load.
Banding straps should be plastic only; metal strapping is not allowed. The supplied document also calls for compliance with EC9462/TPCH packaging material regulation and says metal connectors should not be used. If a connector is unavoidable to secure a cut end, the sharp edge must be covered with thick clear tape. The banding must stay secure from the factory through the final Costco destination.
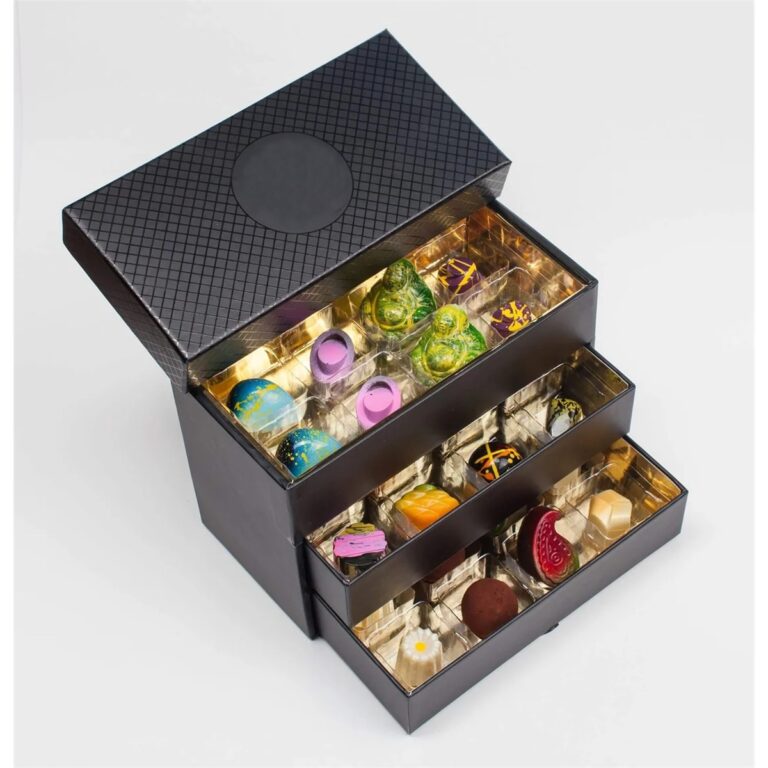
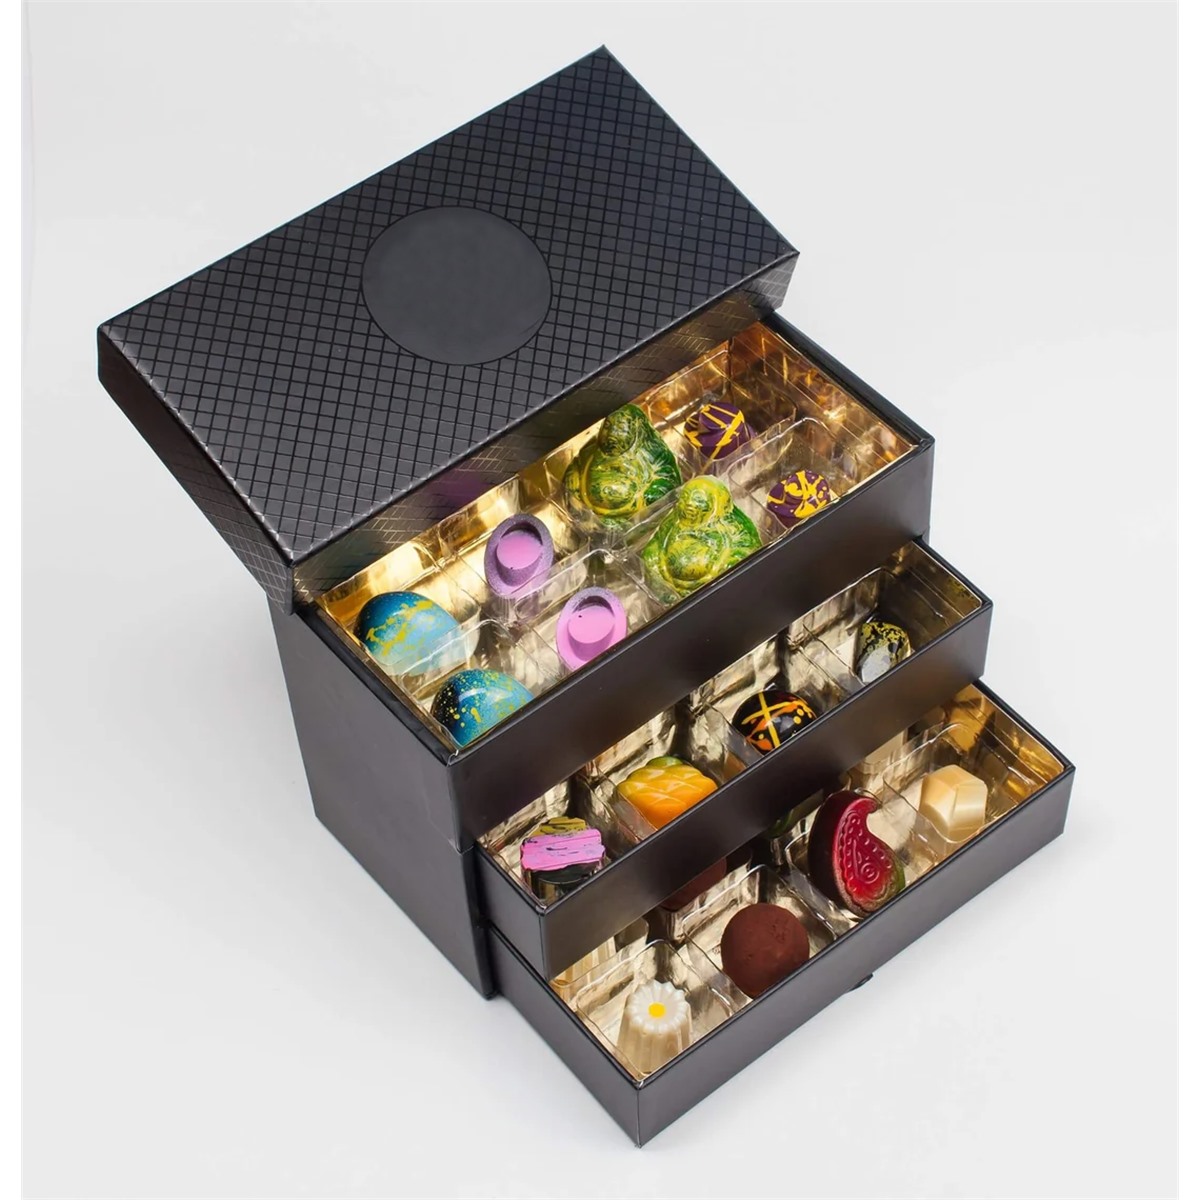
The layered tray chocolate box shows why the sell-unit and load-unit discussion should happen together. A premium inner tray can protect the product, but the outer POD still needs separate engineering for compression, stacking, transport vibration, and clamp handling.
03 | Design for mechanical handling
A POD must survive clamping, stacking, and movement before it reaches the sales floor
The supplied guidelines state that completed PODs must withstand mechanical clamping up to 2,300 psi, or 159 BAR, without damage. The reference clamp dimensions include 36 x 36 inches and 48 x 36 inches. This is a different load case from a quiet warehouse stack: the packaging must resist side compression while keeping the sell units aligned and the shroud intact.
A practical development process should therefore include compression thinking from the first sketch. Review corner-board rigidity, cap support, bottom-tray stiffness, panel fluting direction, strap tension, layer alignment, product clearance, and the way the load reacts if the clamp pressure is not perfectly centered.
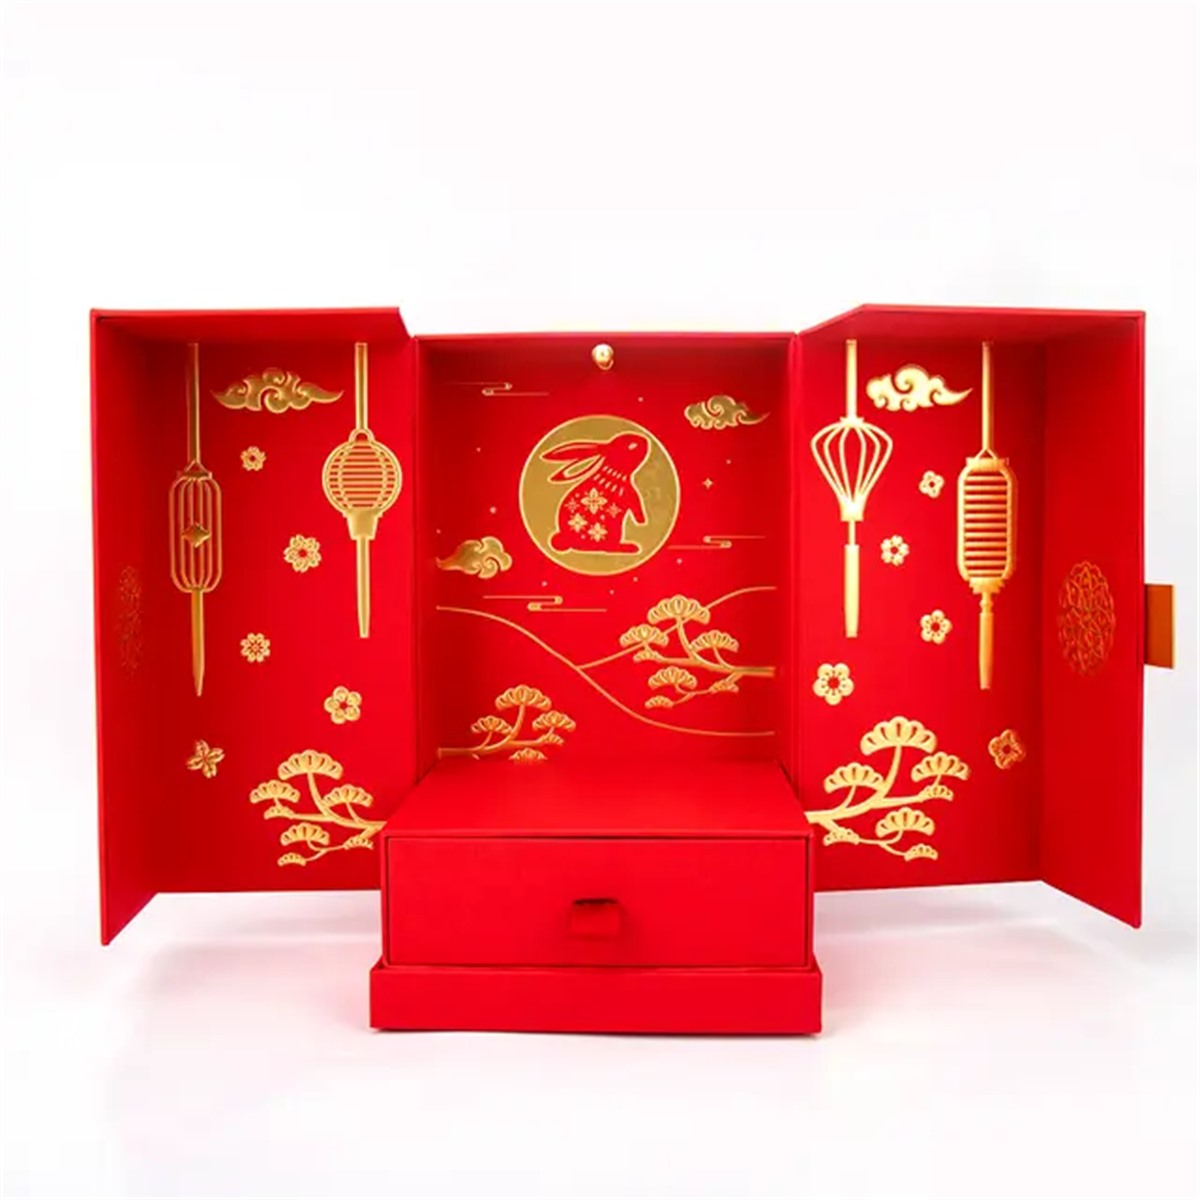
The double-door festival gift box is an example of a complex display-ready structure at the sell-unit level. If a similar product is shipped in a warehouse program, the display unit, master load, and POD components must be treated as separate engineering questions. Decorative doors and drawers may be suitable for the customer-facing package, but the shipping load still needs a protective and mechanically stable outer system.
The document also notes that PODs must survive dynamic as well as static loads. That means a successful sample should be reviewed during simulated movement, not only while standing still on a table. The supplier remains responsible for packaging structural quality throughout the supply chain.
04 | Build aligned layers without gaps
Layer design controls compression, quantity, display readiness, and warehouse handling
The first sell-unit layer is placed inside the bottom tray with the front of the sell unit or display tray facing the 48 inch side. Depending on the package dimensions, additional units may also face the 40 inch side. The key requirement is a stable, efficient pattern with no unwanted gaps between sell units or trays.
Additional layers may use layer trays, individual display trays, individual display boxes, or full layer sheets. The correct choice depends on the sell-unit format and product type, and the supplied guidelines recommend confirming the preferred format with the Costco buyer. If layer trays are not used, full sheets may be needed to even out weight distribution.
Boxes and trays should align vertically to create a secure POD without bulging. The exact layer count should also be checked against the loadable height of inbound shipping equipment; the supplied guide states that the layers should not exceed 50% of that loadable height. This is a logistics constraint as much as a packaging constraint.
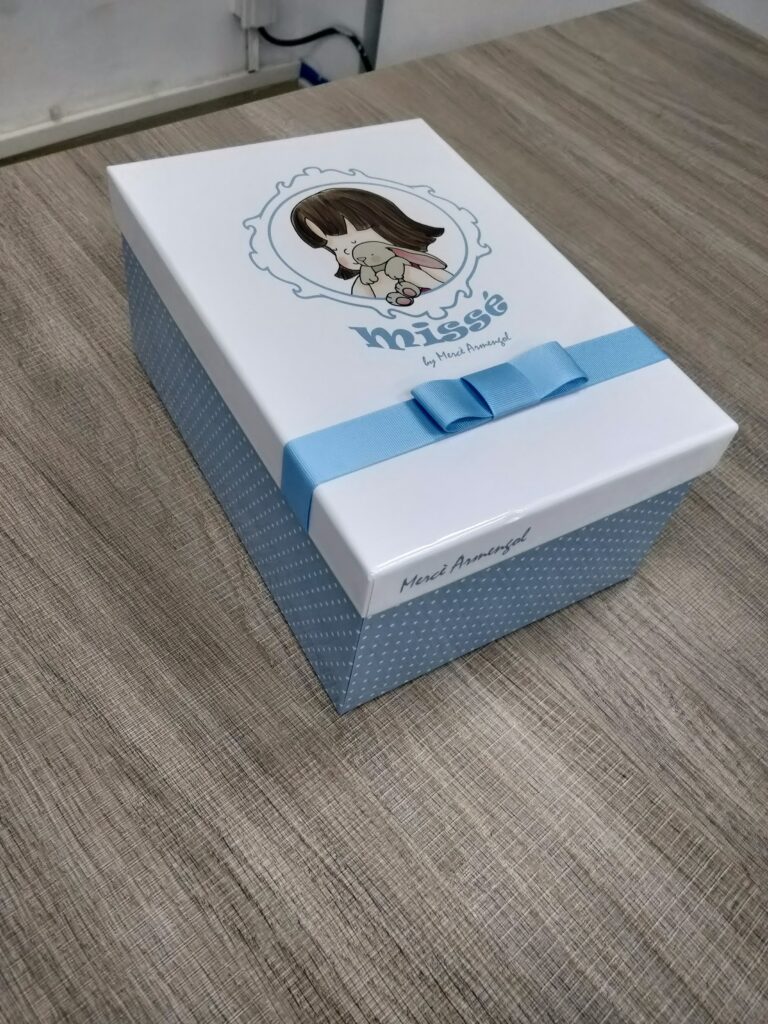
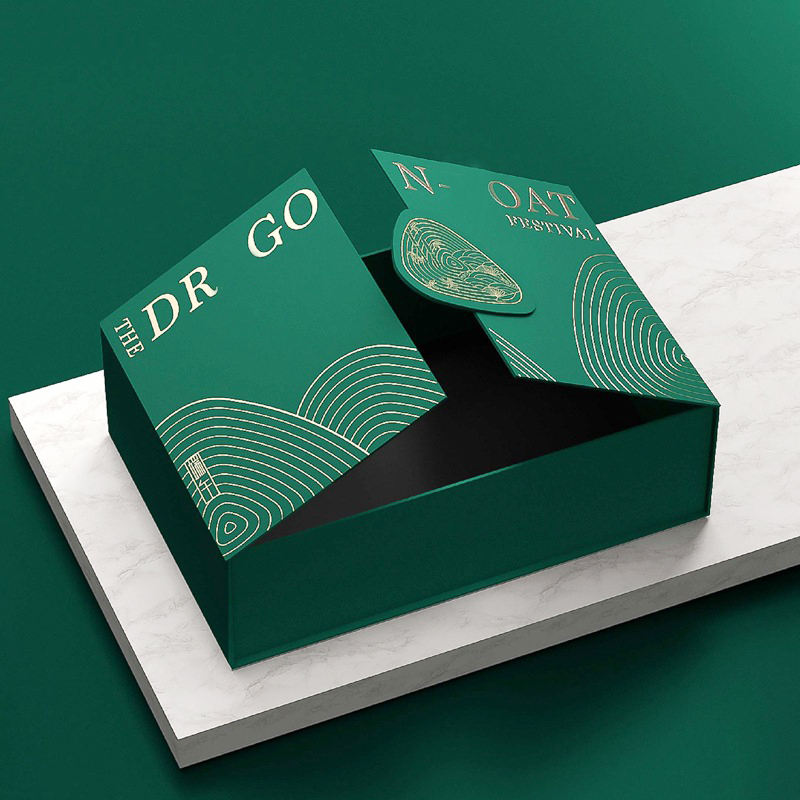
The magnetic flap chocolate box and premium magnetic gift box illustrate two different sell-unit presentation directions. Both can look premium at retail, but the POD pattern must be developed around the closed dimensions, weight, stacking behavior, and display configuration of the approved sell unit.


05 | Enclose the load and orient the fluting
The corrugated shroud should protect the load while still supporting warehouse identification
The POD must be fully enclosed within the corrugated shroud. Shroud panels should sit fully inside the bottom tray, and the corrugated fluting should run in the vertical, load-bearing direction. The top cover must fit securely over the corner posts, with the posts sitting inside both the bottom tray and top cover so they cannot fall away.
Corner-post height needs to be calculated carefully. The posts should sit slightly higher than the topmost layer-box surface, while remaining aligned vertically and avoiding bulging. Optional top framing may be added when it is needed to distribute the double-stack load or keep the strapping from deforming the top cap.
The recycled rigid drawer calendar box is a helpful reminder that the visible sell unit and the shipping shroud serve different purposes. A retail-ready drawer package can be designed for opening and discovery, while the outer POD needs to be designed for containment, compression, and efficient warehouse movement.
Stretch film is not allowed for the POD system described in the supplied guide. The load should instead rely on the corrugated enclosure, correctly positioned corner protection, and sufficient but not excessive banding.
06 | Prepare the identification markings before printing
Front and back panels need consistent, readable information
The supplied guide requires identification markings on both 48 inch panels, front and back, for imported and shrouded domestic items. The markings are intended to improve warehouse efficiency and help operators identify the product quickly. They should use the available panel space effectively and be printed in black using the specified condensed bold type treatment at the appropriate scale.
The marking template calls for a Costco identifier, a product line drawing, purchase order number, gross and net weight in English and French, gross cubic meters, sell-unit quantity, shipping-unit sequence, country of origin in English, French, and Spanish, item or article designation, Costco item number, and the basic product description. Imported items require the product description in English, French, and Spanish; domestic items are described in English only.
A 5 inch margin is shown on all sides of the template. The template example is based on a 48 x 52 inch panel and should be scaled when the actual panel size differs. The supplied guide also states that the Costco buyer must review and approve packaging before printing.
This means the artwork file should be treated as a controlled production document. Keep the marking fields editable until the purchase order, item number, weights, quantity, origin language, and product description have been confirmed. Do not finalize or print variable data until the artwork has received the required approval.
07 | Evaluate optional layers separately
A shipping layer is not simply extra cartons placed on top
The supplied guide allows additional layers of merchandise on top of PODs only with the required approval. A layer is itself a fully shrouded, display-ready single-layer quantity with a top cap and bottom tray, enclosed by corrugated panels and secured with banding straps.
Layers use the same basic building steps as a POD, but corner posts are not required. The layer footprint must match the POD footprint and must withstand the same 2,300 psi mechanical clamping requirement. Identification markings should still be present, although the product line drawing may be omitted because of size constraints.
When layers and PODs are shipped together, total layer quantities must equal full POD quantities. This affects quantity planning, container utilization, warehouse flow, and the final load study. It should be agreed early rather than treated as a last-minute way to use spare space.
For a supplier, the best practice is to create separate test records for the full POD and the optional layer. Record the footprint, gross weight, center of gravity, strap pattern, panel orientation, maximum stack height, and handling observations for each configuration.
Holidaypacfactory packaging references
Product formats to discuss alongside a Costco POD project
These product pages are presentation references, not Costco-approved POD designs. A project-specific load unit still requires dimensional, structural, transport, and buyer review.
Shelf-ready display reference
Shelf Ready Packaging Manufacturer | Custom SRP Display Trays – Holidaypacfactory
Useful when the program needs a front-facing display tray and efficient store replenishment.
Layered presentation reference
Custom Rigid Chocolate Boxes with Layered Trays and Luxury Inserts
Useful for multi-piece merchandise that needs separated trays and a controlled internal layout.
Display-ready gift reference
Custom Red Festival Gift Box Packaging with Double Door Display and Drawer
Useful for reviewing how a complex retail package should be separated from its outer shipping load.
Magnetic flap reference
Custom Gold and Black Rigid Chocolate Gift Box with Magnetic Flap Panels and Foam Insert
Useful for premium sell units that need a fitted insert and a strong closing experience.
Rigid magnetic reference
Custom Premium Magnetic Box Packaging for Luxury Gift Sets
Useful for launch kits, presentation sets, and reusable gift structures.
Multi-compartment reference
Handmade Pink Eco-Friendly Recycled Rigid Advent Calendar Drawer Box
Useful for programs with many small units, repeated drawers, or seasonal replenishment.
Supplier checklist
What to confirm before releasing a Costco-ready packaging sample
Use this checklist to keep the sell unit, shipping unit, and warehouse handling requirements connected.
Confirm the current project brief
Verify the buyer-approved sell-unit format, destination, item number, purchase order information, and whether a full POD or an optional layer is required.
Lock the footprint
Keep the footprint within the 48 x 40 inch maximum and check the 46 x 38 inch minimum guidance against the actual product dimensions.
Test compression
Review clamping, double-stacking, dynamic movement, corner-post rigidity, top-cap support, bottom-tray stiffness, and strap retention.
Align every layer
Remove unwanted gaps, prevent bulging, use the correct tray or sheet strategy, and keep boxes vertically aligned.
Check recyclable components
Use recyclable corner-post materials where required, avoid plastic corner posts, and use plastic rather than metal strapping.
Prepare the markings
Keep product data editable until weights, quantity, origin language, item number, and buyer review are complete. Mark both 48 inch panels.
Document the load study
Record footprint, height, gross weight, center of gravity, strap pattern, pallet plan, and observed performance during handling tests.
Review the warehouse handoff
Confirm how the outer shroud is removed and how the display-ready configuration moves by forklift or pallet jack after palletization.
FAQ
Costco POD packaging questions suppliers often ask
What does POD mean in Costco packaging?
POD means Product on Display. It is a fully shrouded, display-ready pallet quantity of merchandise designed to reduce handling between depot receiving and the warehouse sales floor.
What is the target Costco POD footprint?
The supplied June 2025 guideline document says to build as close as the item allows to 48 x 40 inches. The footprint should not exceed 48 x 40 inches and should not be smaller than 46 x 38 inches. Confirm the current project requirements before production.
Can stretch film be used around the POD?
The supplied guide says stretch film is not allowed for the POD system described. The load should use the specified corrugated enclosure, corner protection, and banding approach.
Are plastic corner posts allowed?
The supplied guide prohibits plastic corner posts and calls for widely recyclable, rigid materials that can support double-stacking and remain stable under load.
What pressure must a POD withstand?
The supplied guideline document states that PODs must withstand up to 2,300 psi, or 159 BAR, of mechanical clamping without damage. A qualified engineer should validate the project-specific design.
Where should identification markings appear?
The supplied guide requires markings on both 48 inch panels, front and back, for imported and shrouded domestic items. The exact fields and language depend on the item and project.
Does Costco approve the structural design for the supplier?
The supplied guideline document places responsibility for packaging structural quality and integrity on the supplier and recommends using a packaging engineer with unit-load and Costco sales-floor experience. Buyer review is still required before printing variable markings and final packaging.
Packaging development support
Plan the sell unit and POD load as one connected system
Share your sell-unit dimensions, product weight, display format, carton quantity, destination, target footprint, and handling needs. Holidaypacfactory can help review display trays, rigid boxes, inserts, corrugated protection, and load-unit planning before the packaging sample is finalized.